

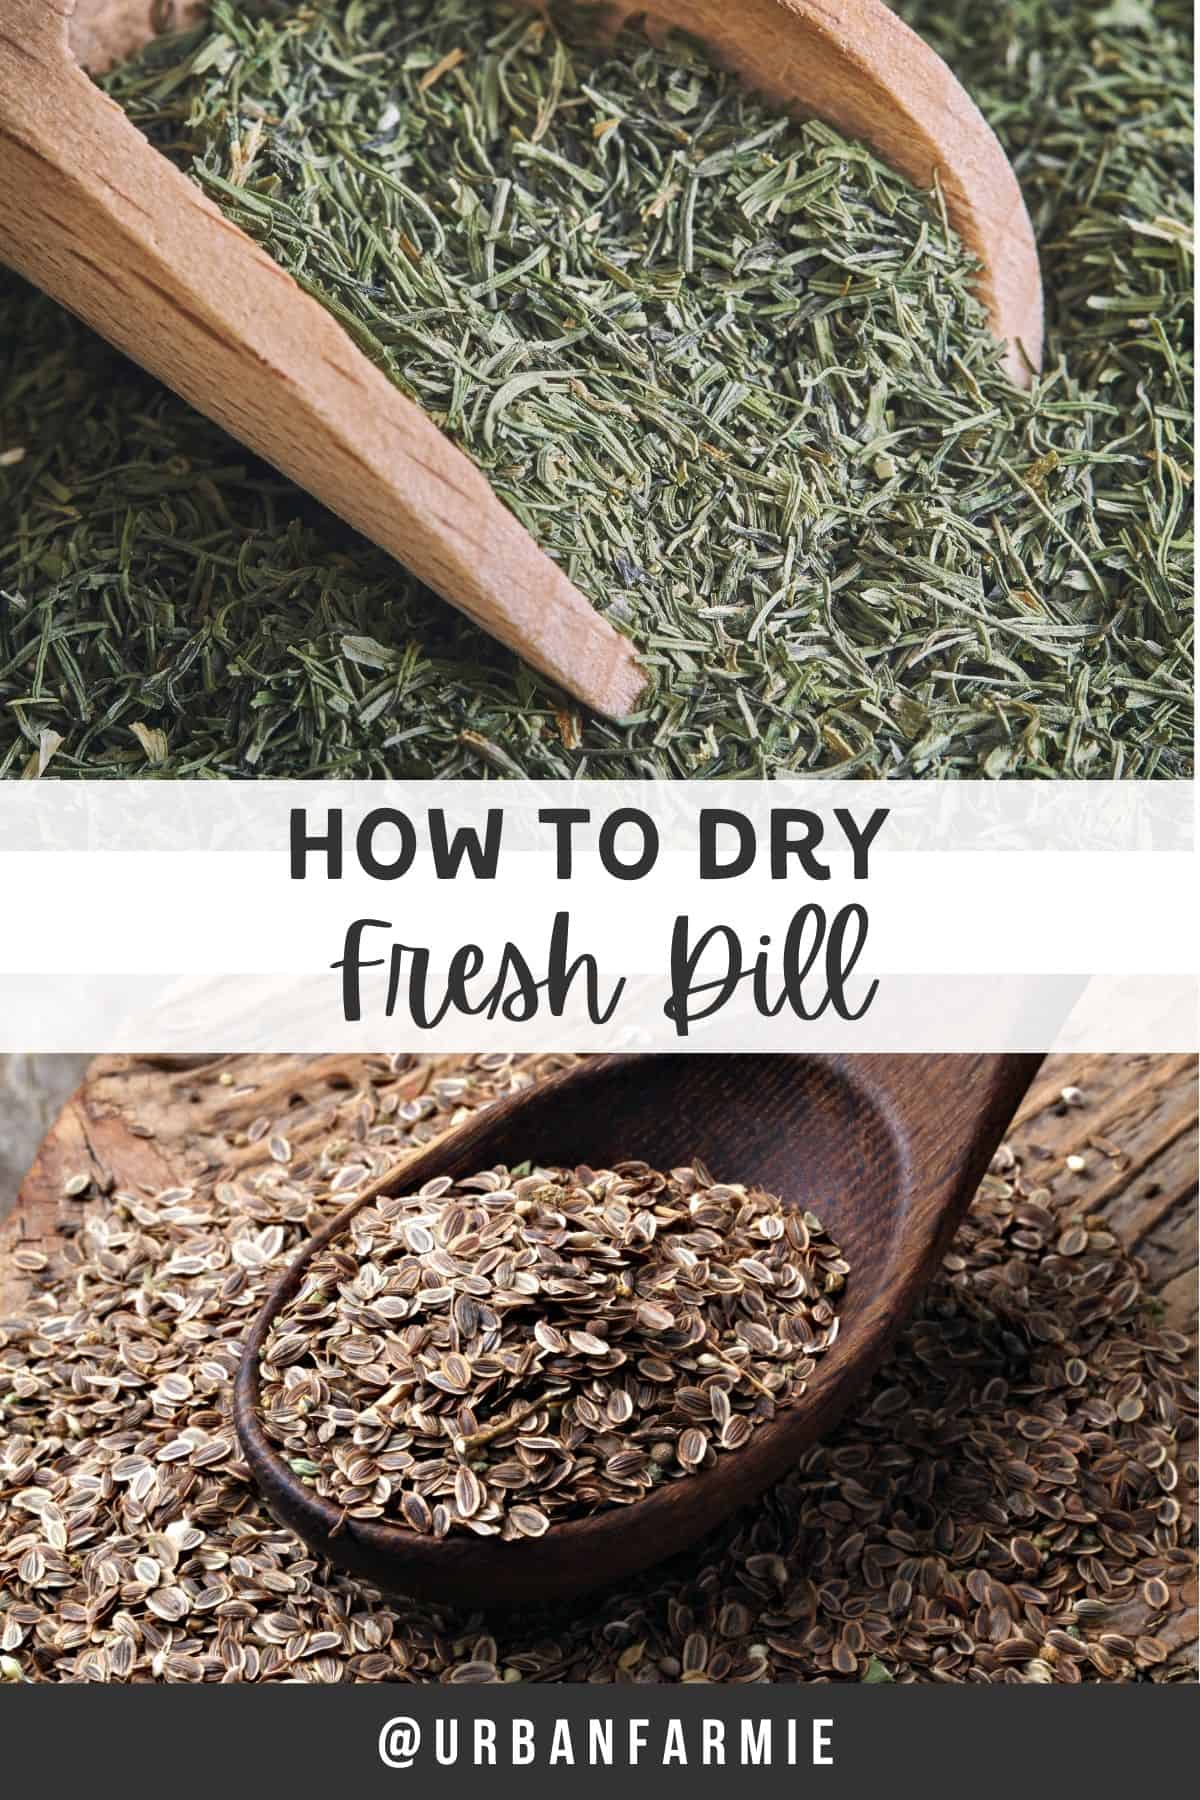
Do you have any dill growing in your yard? If so, try harvesting or cutting them, then drying them. Drying dill is one of the best ways to store fresh dill. Not only does it allow you to enjoy dill year-round, but also gives you the opportunity to create your own unique blends of herbs and spices!
This post might contain affiliate links. If you click on those and make a purchase, I earn a small commission at no extra cost to you. As an Amazon Associate I earn from qualifying purchases.
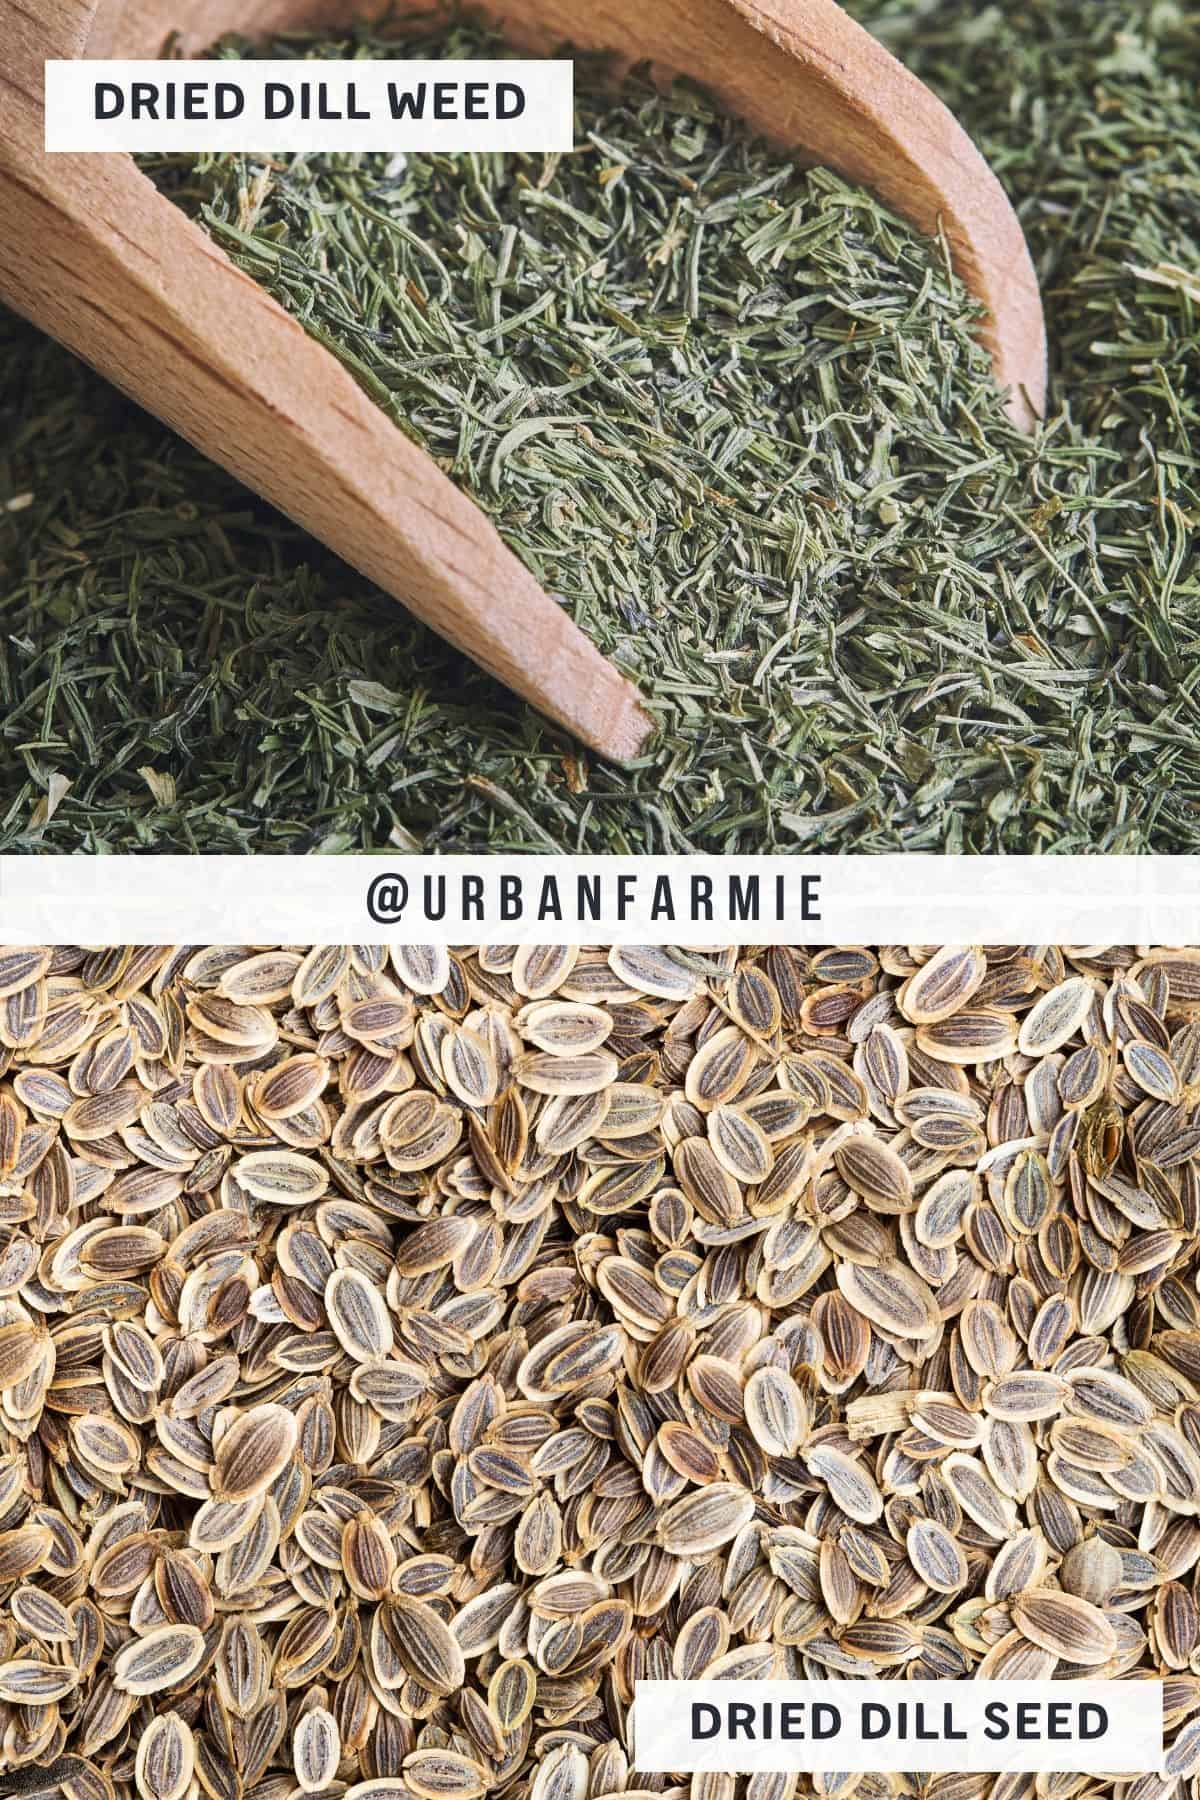
How to dry dill seed
In order to dry dill seeds, you’ll want to lightly tie up fresh dill, and then hang them upside down, with a paper bag over them. Lightly tying them up with space in between can ensure there’s air circulation. Then, as the dill leaves dry - the paper bag will catch the dill seeds.
How to dry fresh dill
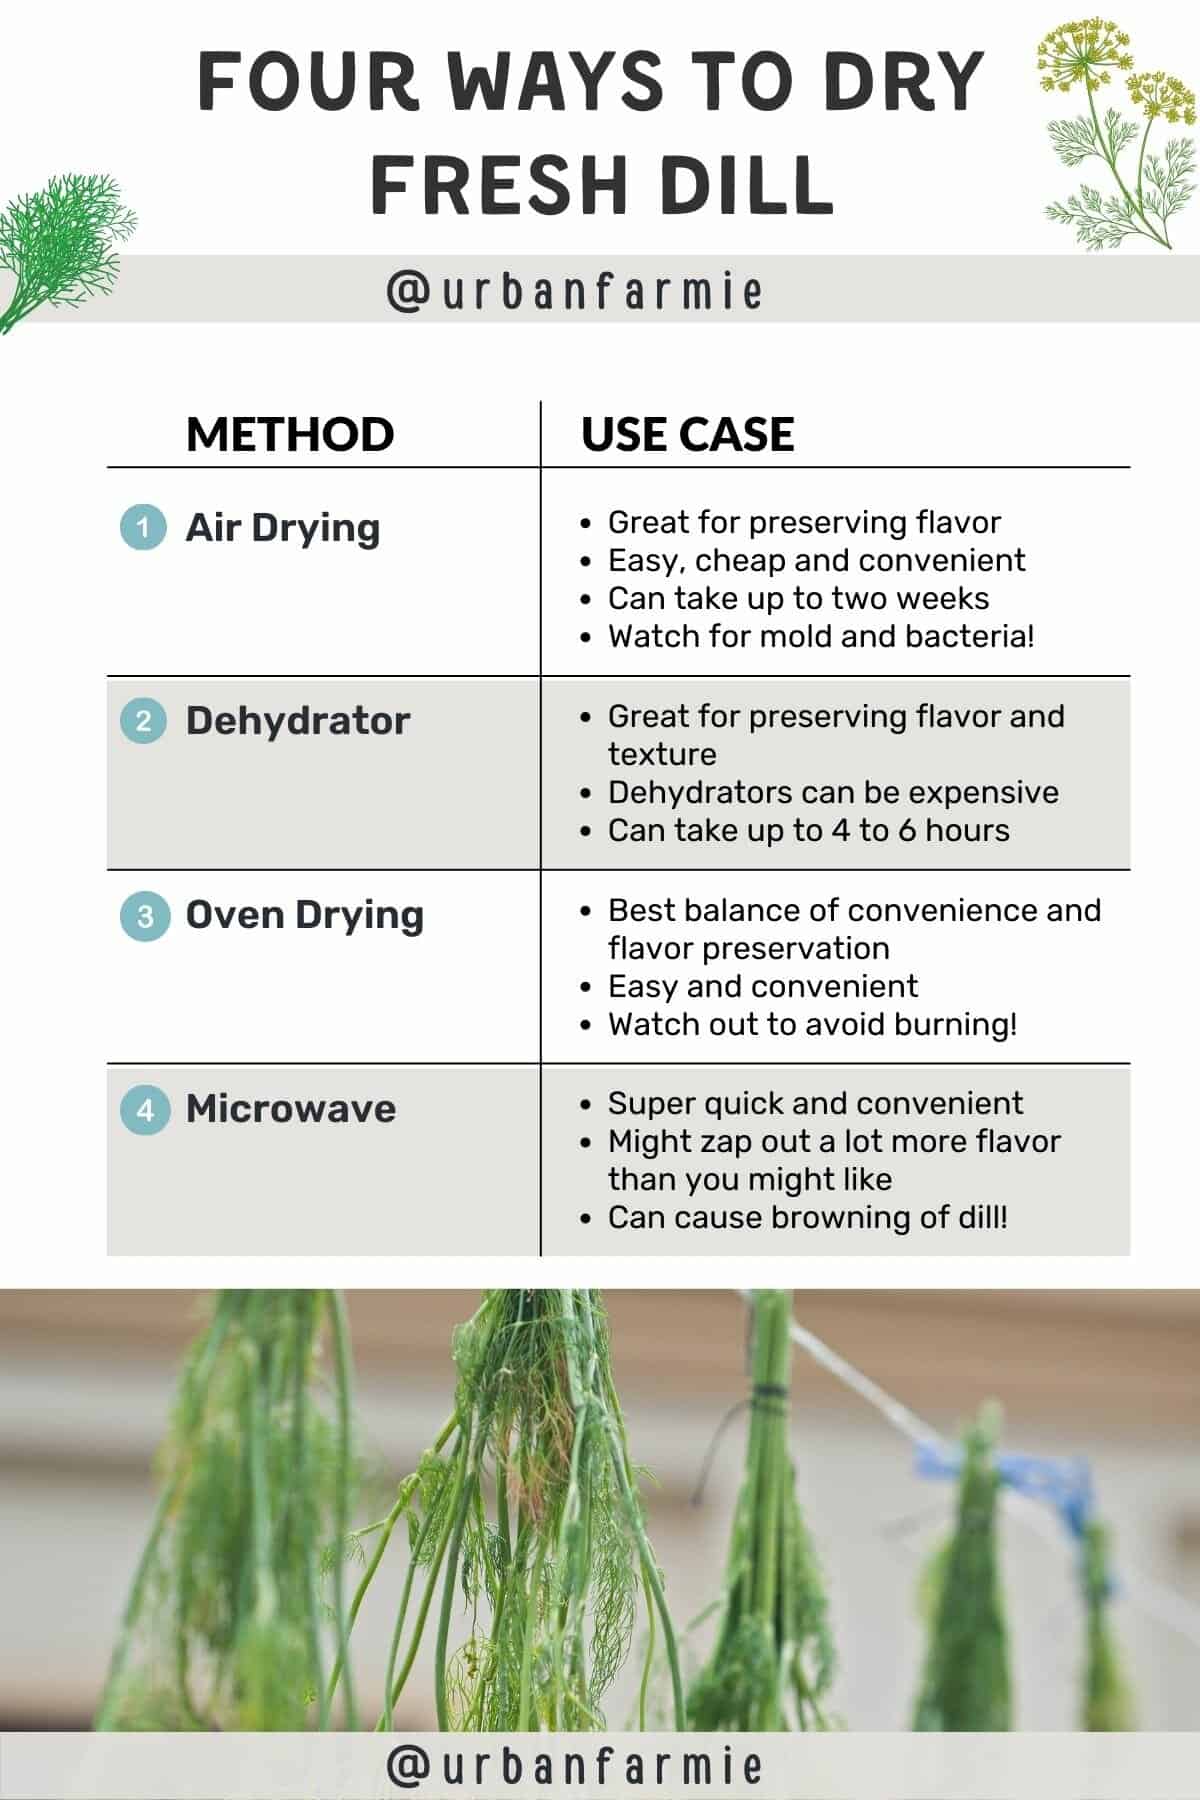
There are four simple ways of drying fresh dill: it can be air dried (so you can catch both the dill leaves and the seed!), dehydrated with a food dehydrator, oven-dried, or dried in the microwave. Each of these methods have their pros and cons, so read on to find out more about which method might work best for you! But before you dry fresh dill, you first have to prepare it the right way.
How to prepare fresh dill for drying
In preparing fresh dill for drying, I love using this simple salad spinner. This saves me a ton of time, and helps remove any excess water, which, in turn, prevents it from molding while drying. First, cut the dill off the stem and discard any brown or yellow leaves. Then, rinse it in cool water and spin it dry in a salad spinner.
Speaking of which, if you're on the fence about buying one, don't be - they make drying salad leaves SO much easier! My salad spinner has over 12000 reviews on Amazon, and has been a lifesaver!
Once the dill is dry, you can then proceed to drying it using one of the four methods below.
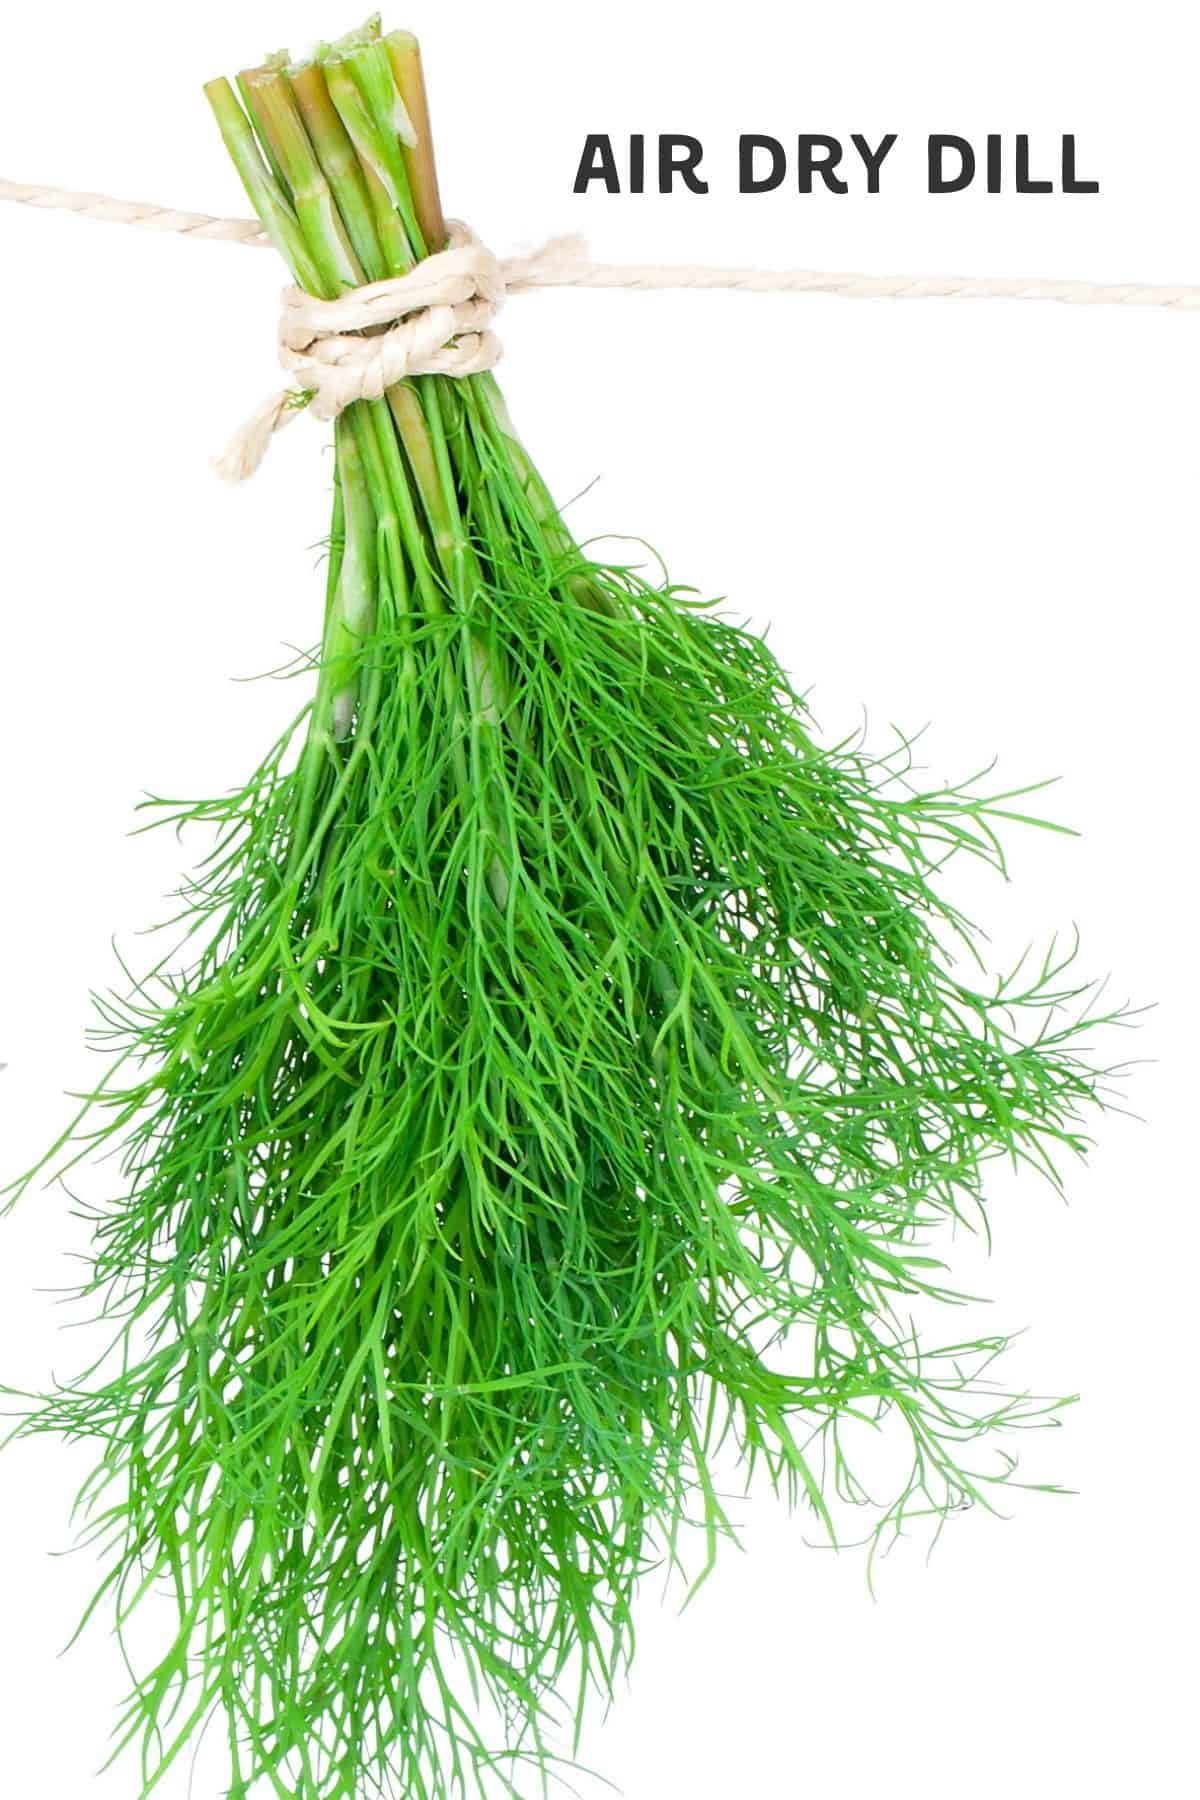
Air drying dill
This is the simplest method of drying fresh dill. The process takes a bit of time and patience but the results are worth it! Your dried dill will have a more intense flavor than store-bought dill.
What do you need?
You’ll need a pair of scissors, some paper towels, elastic bands, paper bags, and a dry porch, aka, all things you likely have on hand.
How do you air dry dill?
- Cut the bottom off of the dill plant, leaving a few inches of stem.
- Gather the dill plants together in a bundle and tie them securely with rubber bands.
- Hang the bundle of dill upside down in a dry, dark, but well-ventilated place. Allow the herbs to dry for about two weeks.
- Once the dill is completely dried, remove the leaves from the stems and store them in an airtight container.
Pros: The main advantage of air drying dill is that it's a very simple process. All you need is some fresh dill, string or twine, and a place to hang the herbs to dry. Additionally, air-dried dill will retain its flavor for several months!
Cons: The downside is that it can take up to two weeks for the herbs to completely dry (which if you’re impatient like me, can be a bit of a problem). If you're in a hurry, another drying method may be better suited for you. It can also expose the dill to mold and mildew if there's a lot of humidity. However, if you can ensure enough air circulation, it’s usually worth the long drying time!
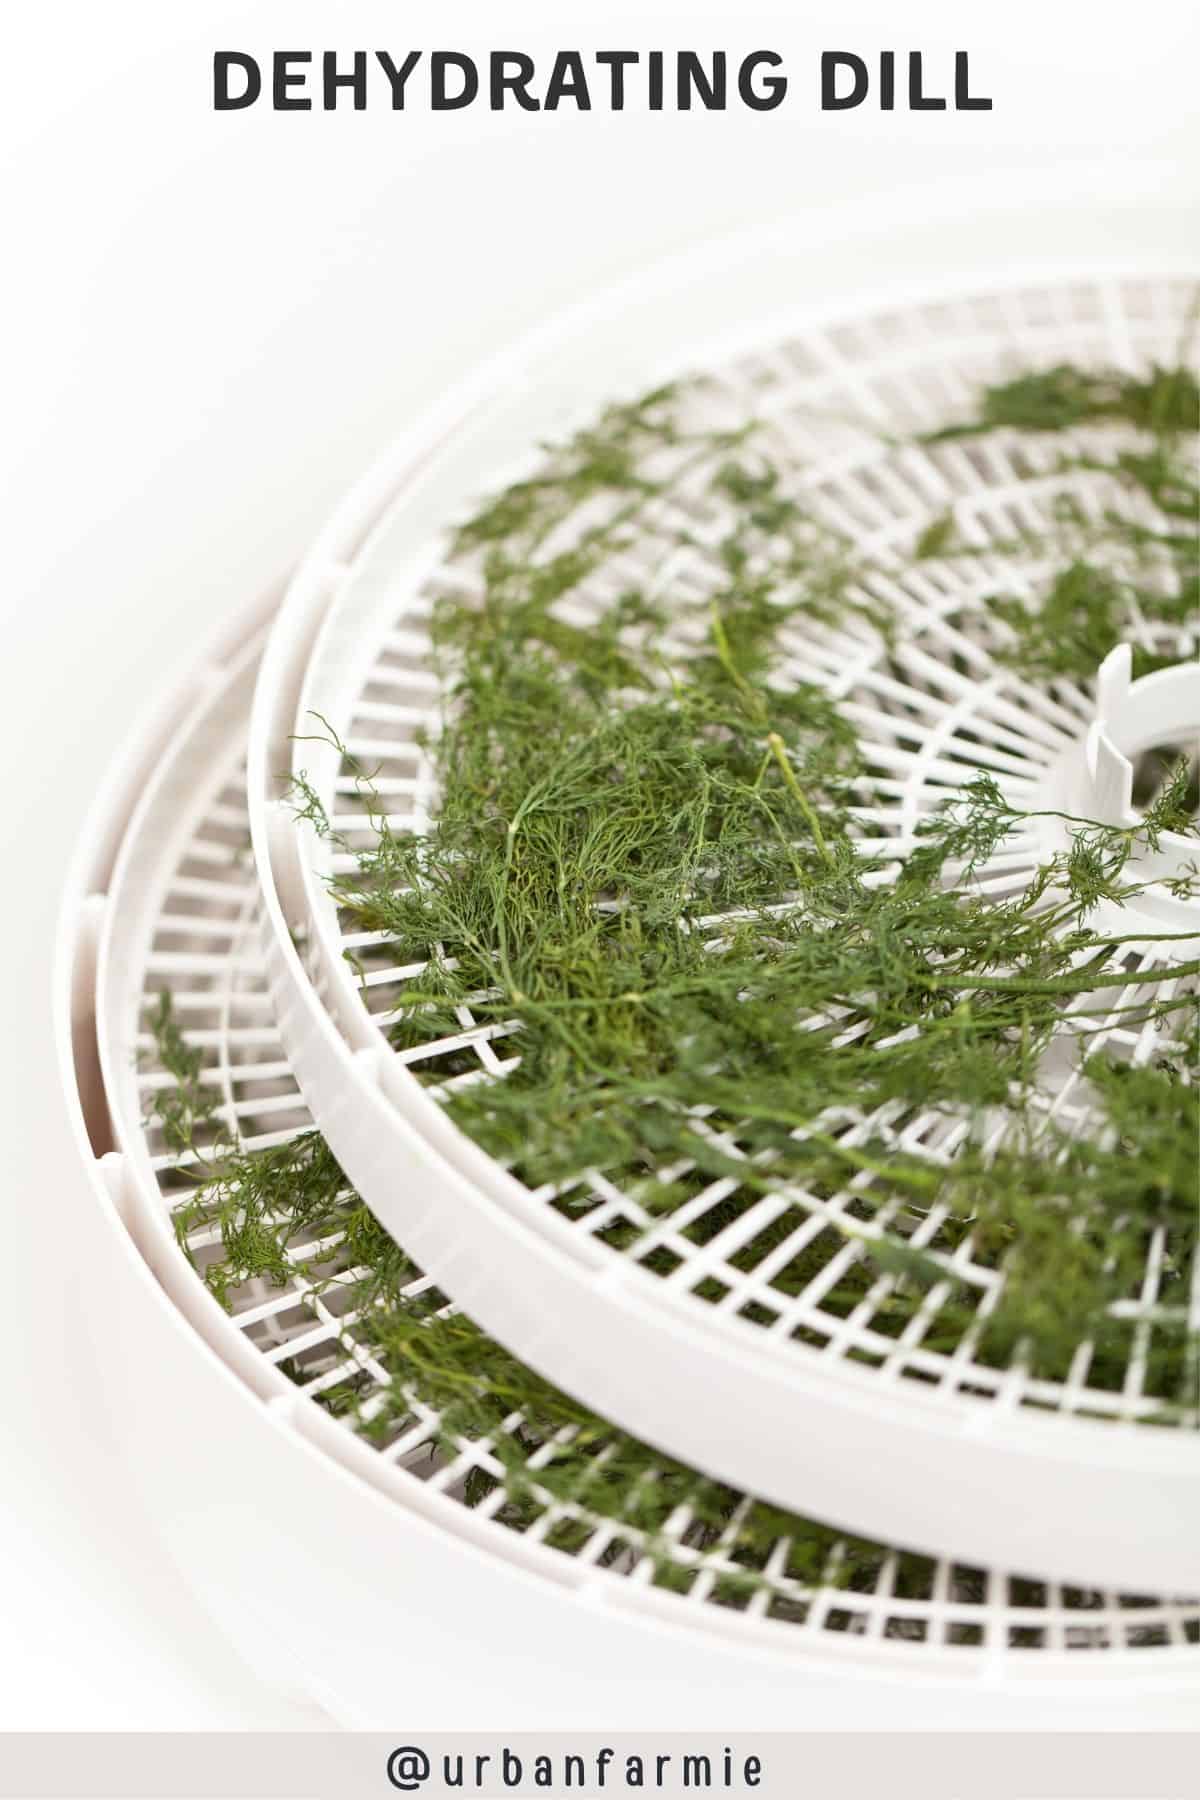
Dehydrating dill (with food dehydrator)
This method is faster than air drying, but you will need a food dehydrator (which can be quite expensive!)
What do you need?
You’ll need a food dehydrator, some paper towels, a salad spinner, a sheet of parchment paper and a container to store dried dill.
How do you dehydrate dill?
- Start, as always, by cleaning the herb. Cut off the yellow flowers as they will make the dill less potent. Also cut the stems into smaller pieces so that they fit onto your dehydrator trays.
- Place the dill on your tray and then the tray into your food dehydrator and set the temperature between 95-100F.
- The total time will depend on how fresh the herb is and how humid your environment is, but it usually does not take more than 4 to 6 hours. Once dry, store in an airtight container in a cool, dark place.
Pros: Food dehydrators are very energy efficient and will save money on your electric bill in the long run. They also preserve food for a longer time than other methods of preservation., and can help preserve flavor.
Cons: Food dehydrators can get quite expensive, so it is important to weigh the pros and cons before making a purchase. They can also take up quite a bit of counter space in already small kitchens. Finally, they require some trial and error to get the settings just right. If you don't pay close attention, food can be overcooked!
Some air fryers (like mine) have a dehydrate function, which is great! If you're looking for a great dehydrator at a cost-effective price point, check out this one!
That said, despite the cons, food dehydrators are a great way to preserve dill and other herbs for long-term use. If you are patient and willing to experiment, a food dehydrator is a great investment for your kitchen.
Drying dill in the oven
This method is similar to dehydrating, but you get to use an oven, which is more accessible to most folks, when compared to a food dehydrator.
What do you need?
You'll need an oven proof tray or cookie sheet and some parchment paper.
How do you dry dill in an oven?
- You’ll want to set your oven at its lowest setting, usually between 150 and 200F. Preheat the oven and then turn it off.
- Place the dill on a baking sheet and place it in the oven with the oven light on. Having the oven light turned on can help you check on the dill periodically and have a bit of a heat (without burning the dill).
- Check after 25-30 minutes, and then every 15 minutes until it’s dried. Once it's dried, remove it from the oven and let it cool completely before storing in an airtight container.
Pros: Using an oven for drying dill makes the process quicker and easier. There are also less chances of mold or bacteria developing on the herb.
Cons: Oven drying can cause the dill to lose some of its flavor and nutrients. If you're looking to retain as much of the herb's original properties, then air-drying might be a better option for you.
Drying dill in the microwave
This is the quickest method of drying fresh dill, but it does require a bit of attention.
What do you need?
To microwave dry dill, you'll need a microwave-safe dish or container and some paper towels or a clean cloth!
How do you dill dry in microwave
- First, take your fresh dill and rinse it off. Next, shake the excess water off (or use a salad spinner!) and place it on the paper towel.
- Microwave on high for about two minutes, in 30-second intervals, or until it is completely dry and crisp. Check and rotate plate if necessary. Be careful not to overcook the dill, as it will become bitter.
- After that, you can store the dried dill in an airtight container and use it as you would any other dried herb.
Pros: Microwave drying is much faster than air drying!
Cons: Microwave drying can be quite uneven, and it can cause the herb to lose some of its essential oils, which, in turn, can really impact its flavor. Microwave drying can also cause browning of the dill, which can make it visually unappealing.
When to use each method?
Though I've laid out all the pros and cons above, I think each method has it's own utility for different reasons. When deciding which method to use, you should consider how long you need the dill to last, how much of the flavor you want to preserve, how much time you have, and the type of equipment you want to use.
Quick drying: microwave
There's no doubt, using a microwave is the fastest way to dry dill! However, this method shortens the lifespan of the spice. I've found that microwave dried dill only lasts a couple of weeks. Additionally, I've noticed that it tends to be quite uneven (even when I rotate them often), and discolor the leaves more than other methods. The flavor is also not as potent and the leaves can really blacken if the plant is over dried.
Preserving flavor: air dry or food dehydrator
Air drying is not only the most common, but it's also the least expensive. If you take care to not let mold form (i.e., by allowing sufficient air circulation), it is one of the cheapest and most effective ways to preserve maximum flavor. Dehydrating dill is more expensive but will prevent mold from forming, and retain the same amount of flavor.
Best compromise: oven drying
I find that oven drying is the best compromise if you don’t want to wait for 2 weeks, but also don’t have a food dehydrator. Preheating the oven at a really low heat setting, and then just drying using the oven light can help get the best of both worlds! Keep checking to make sure it doesn’t get discolored or burned, and you’re all good.
Preparing dried dill for storage
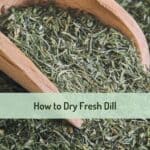
Once the dill is dry, you can crumble the leaves, and then store them in an airtight container in a cool, dark area to preserve the color and flavor for as much as possible. Dried dill weed will typically last for 4-6 months! They can be used as a great substitute for dill leaves, but will often have a more concentrated flavor. If you're looking to use dill in its dried form, there are two things to keep in mind.
- Make sure that you store it in an airtight container. This will help to keep the flavor from dissipating.
- Be aware that the drying process can cause the dill to lose some of its color. If this is important to you, consider using a dehydrator instead of air drying. This will help to preserve the color and prevent any fading.
FAQs and Troubleshooting
The best way to tell if the dill is fully dry is to check the color and crumble it between your fingers. If it's still a vibrant green, it likely needs more time to dry. You can also give it a light shake and press a few between your fingers - it crumbles, you're good to go. If there's any moisture left, you'll want to dry it further.
Dried dill can be stored in a glass jar (I love this one) with a tight fitting lid or in a tightly sealed plastic bag. Be sure to label it! Dried dill will last for several months if stored properly, and no matter how you choose to store your dried dill, be sure to keep it away from light and heat.
Yes, dried dill can also be frozen! Place it in a freezer safe container or bag and it will last for up to a year.
How to use dried dill
If you're looking for a way to add some flavor to your dishes, dried dill is a great option. This herb has a distinctive taste that can really enhance the flavor of many different foods. Here are some tips on how to use dried dill in your cooking.
- One of the most common ways to use dried dill is to sprinkle it on top of salads or other cold dishes. I love adding some to my summer gazpacho!
- It's also a common ingredient in many dips and spreads - love adding some fresh dill instead of cilantro to my spicy guacamole, for instance, for an extra kick of flavor!
- Another way to use this herb is to add it to soups and stews. If you're making a soup or stew that doesn't have a lot of other strong flavors, adding some dried dill can really brighten it up.
- Finally, if you want to use dried dill in a more subtle way, you can add it to bread dough or use it to flavor rice or other grains. This is a great way to add a little extra flavor to simple side dishes! I will sometimes add it to my homemade naan dough for an extra oomph of flavor.
📖 Recipe
How to Dry Dill - Four Ways!
Equipment
- Salad Spinner optional
- Food Dehydrator optional
Ingredients
- 1 bunch fresh dill leaves
- 1 bowl water, for rinsing
Instructions
Air Drying Dill
- Cut the bottom off of the dill plant, leaving a few inches of stem. Gather the dill plants together in a bundle and tie them securely with rubber bands. Hang the bundle of dill upside down in a dry, dark, but well-ventilated place.
- Allow the herbs to dry for about two weeks. Once the dill is completely dried, remove the leaves from the stems and store them in an airtight container.
Dehydrate Dill
- Clean and dry dill thoroughly. Cut off any yellow flowers as they will make the dill less potent. Also cut the stems into smaller pieces so that they fit onto your dehydrator trays.
- Place the dill on your tray and then the tray into your food dehydrator and set the temperature between 95-100°F.
- The total time will depend on how fresh the herb is and how humid your environment is, but it usually does not take more than 4 to 6 hours! Once dry, store in an airtight container in a cool, dark place.
Oven Dry Dill
- Preheat your oven to the lowest setting possible - in most ovens, this is usually between 150°F and 200°F.
- Turn off the oven, and then place the dill, evenly spread out, on a baking sheet with parchment paper on it. Place this in the oven with the oven light on. Having the oven light turned on can help you check on the dill periodically and have a bit of a heat (without burning the dill).
- Check after 25-30 minutes, and then every 15 minutes until it’s dried. Once it's dried, remove it from the oven and let it cool completely before storing in an airtight container.
Microwave Dill
- Rinse your fresh dill and shake the excess water off (or use a salad spinner!) and place it on a paper towel.
- Microwave on high for about 2 minutes, in 30-second intervals, or until it is completely dry and crisp.
- Check and rotate plate if necessary. Be careful not to overcook the dill, as it will become bitter.
- After that, you can store the dried dill in an airtight container and use it as you would any other dried herb.
Notes
- Check out the post for more details on when to use what method. I typically prefer air drying or oven-drying my dill. I find that it's the best balance between cost, time, and flavor preservation!
Nutrition
So, next time you're looking for a way to add some extra flavor to your cooking, reach for the dried dill. With these tips, you'll be able to use this herb in all sorts of different ways!


Thank you for sharing. The quick and easy methods are really helpful. A friend gave me a lot of produce and it did not go to waste!
Thank you for this informative article. I have just dried my first batch of dill in the dehydrator and it was a full success. I am so excited!
We have SO much dill in the yard! I never knew I could dry it in the microwave though, what a simple way to do it in bulk batches!
This is such a great guide because I'm always overly ambitious with dill in the garden and never use it up. Drying it never occurred to me but it's the perfect way to make use of the plant before frost hits. Can't wait to try this out in a few weeks!
I had SO Much dill left over from my garden this year and didn't know what to do with it. I decided to dry it and put it in little jars for gifts. This guide was really helpful! I can't wait to give these at Christmas presents!