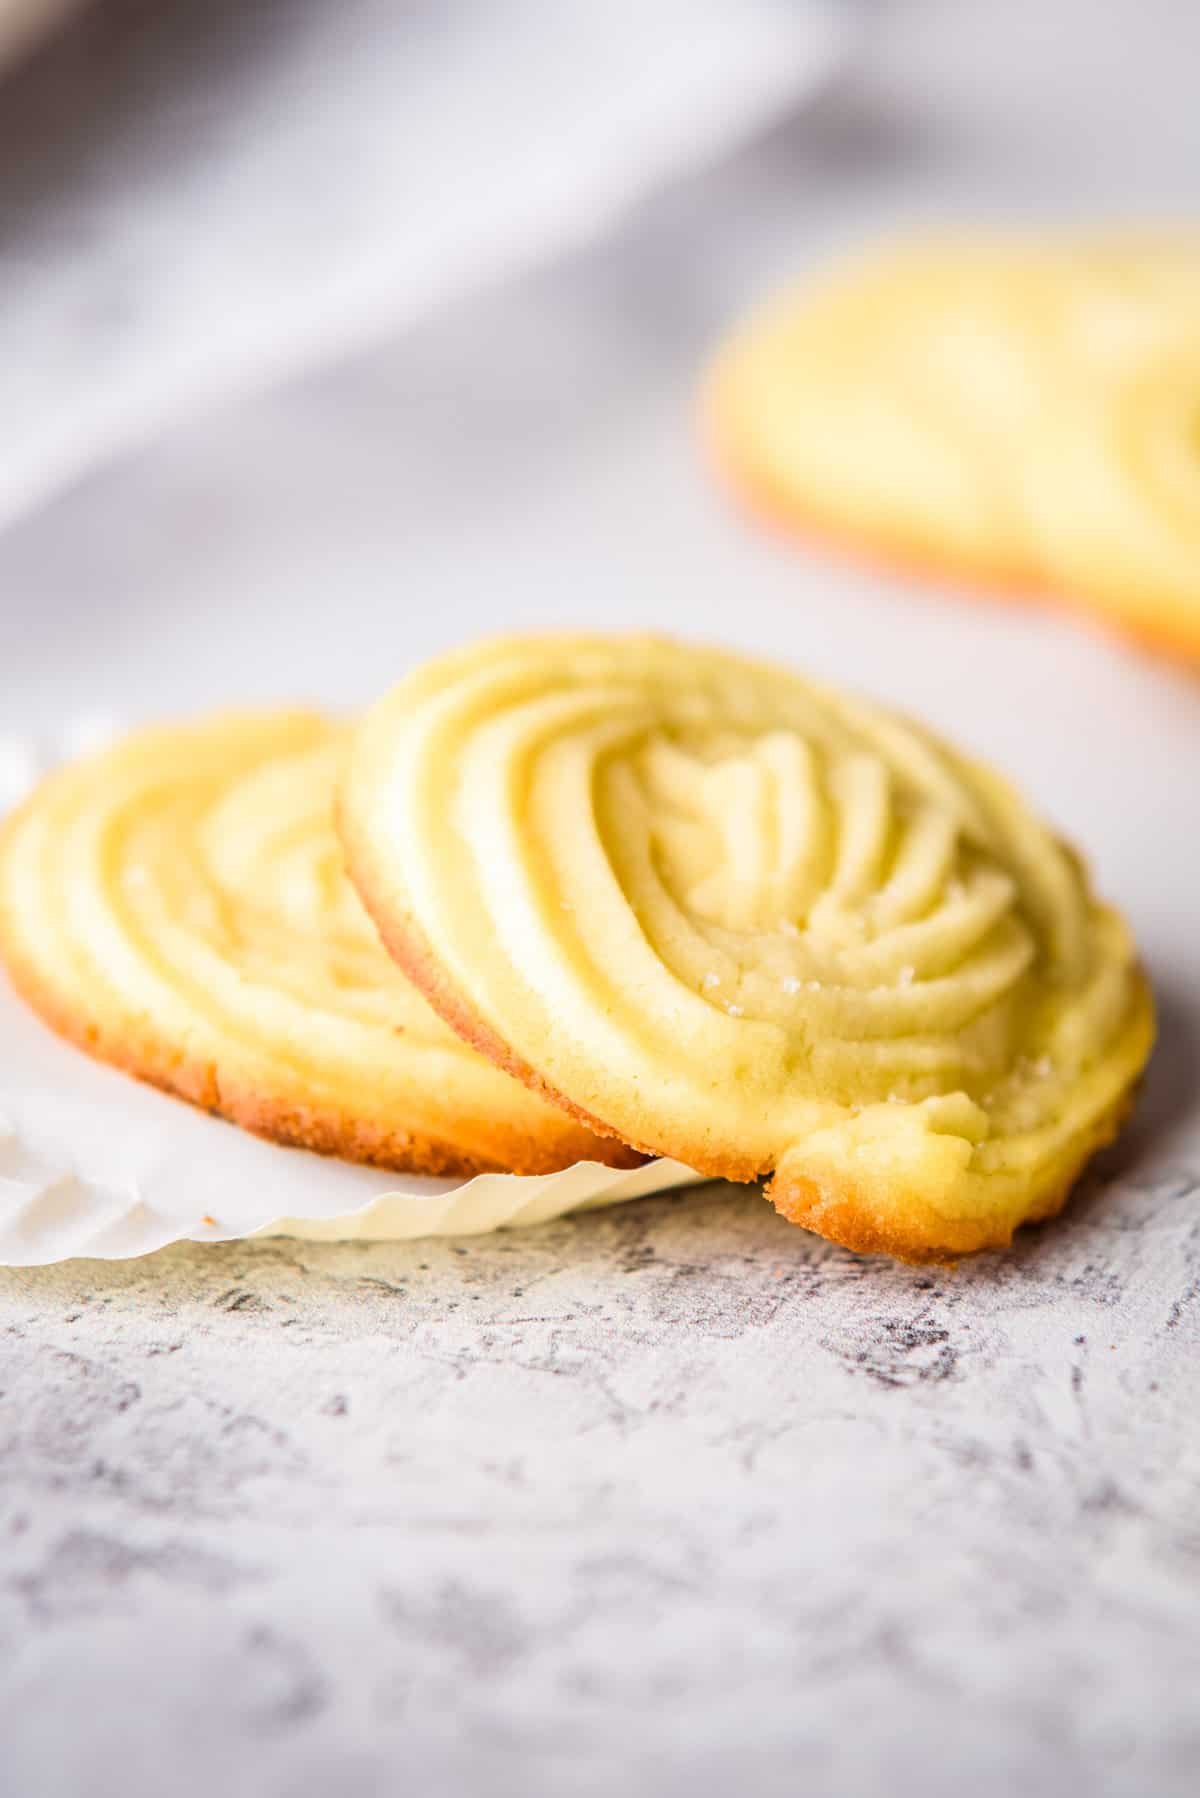
Danish butter cookies are a timeless classic and the perfect holiday treat. These delicate, buttery cookies are irresistible and perfect for any occasion, and with a bit of patience and a few simple ingredients, you can make a batch of delicate, melt-in-your-mouth cookies in no time!
This post contains helpful tips and tricks! If you're in a rush, please use the "Jump to Recipe" below!
💭 Why you'll love this recipe
- They're buttery and delightful. Danish butter cookies, as the name suggests, are buttery! They're also delightful, crispy, and melt-in-your-mouth good. If you're a fan of shortbread cookies, then you'll definitely enjoy these.
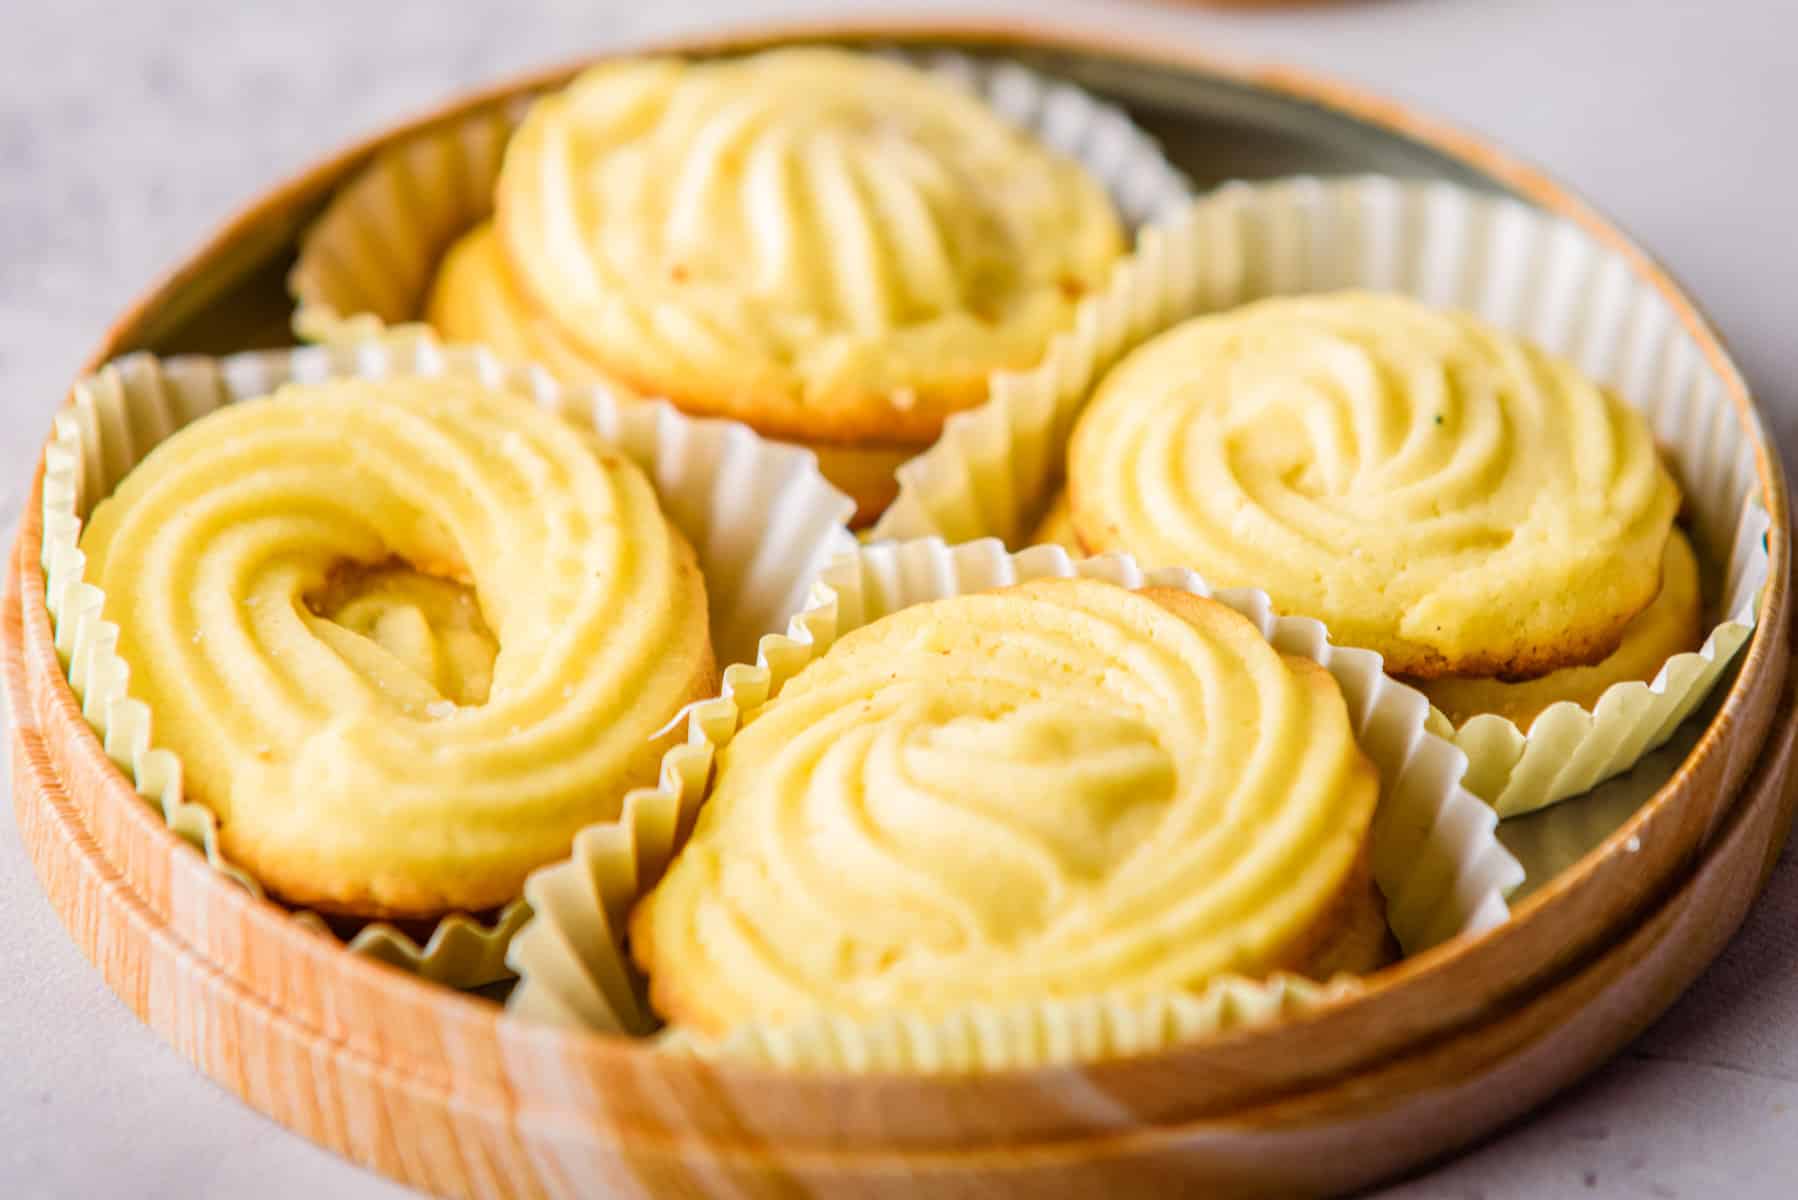
- They make amazing gifts. Danish butter cookies are always a welcome treat. You can wrap them up in themed bags, or delightful cookie boxes or tins!
- They're perfect for any occasion. They're not just for gifting: whether you're hosting a dinner party or want to have a delicious treat on hand, Danish butter cookies are always a hit!
📋 Ingredients and notes
To make these Danish butter cookies, you'll need unsalted butter, powdered sugar, vanilla extract, egg, all-purpose flour, and salt.
Notes and Variations
- Add mix-ins to the cookies. You can replace the vanilla extract with vanilla bean paste in an equivalent amount to add vanilla flecks, or zest some lemon or orange into the cookie dough to get a citrusy burst!
- Substitute all purpose flour. If you're out of all-purpose flour, cake flour is a decent substitute since it creates a similar texture when baked! If you want to go gluten-free, you can use a 1:1 ratio gluten-free baking mix.
- Experiment with toppings. The traditional way to eat these treats is by dusting the topmost layer in powdered sugar but if that's not your style then there are plenty more options (e.g., dipped in chocolate or hazelnut spread, sauces drizzled over it, sprinkles on top, etc.) The options are limitless!
📖 Make the best Danish butter cookies!
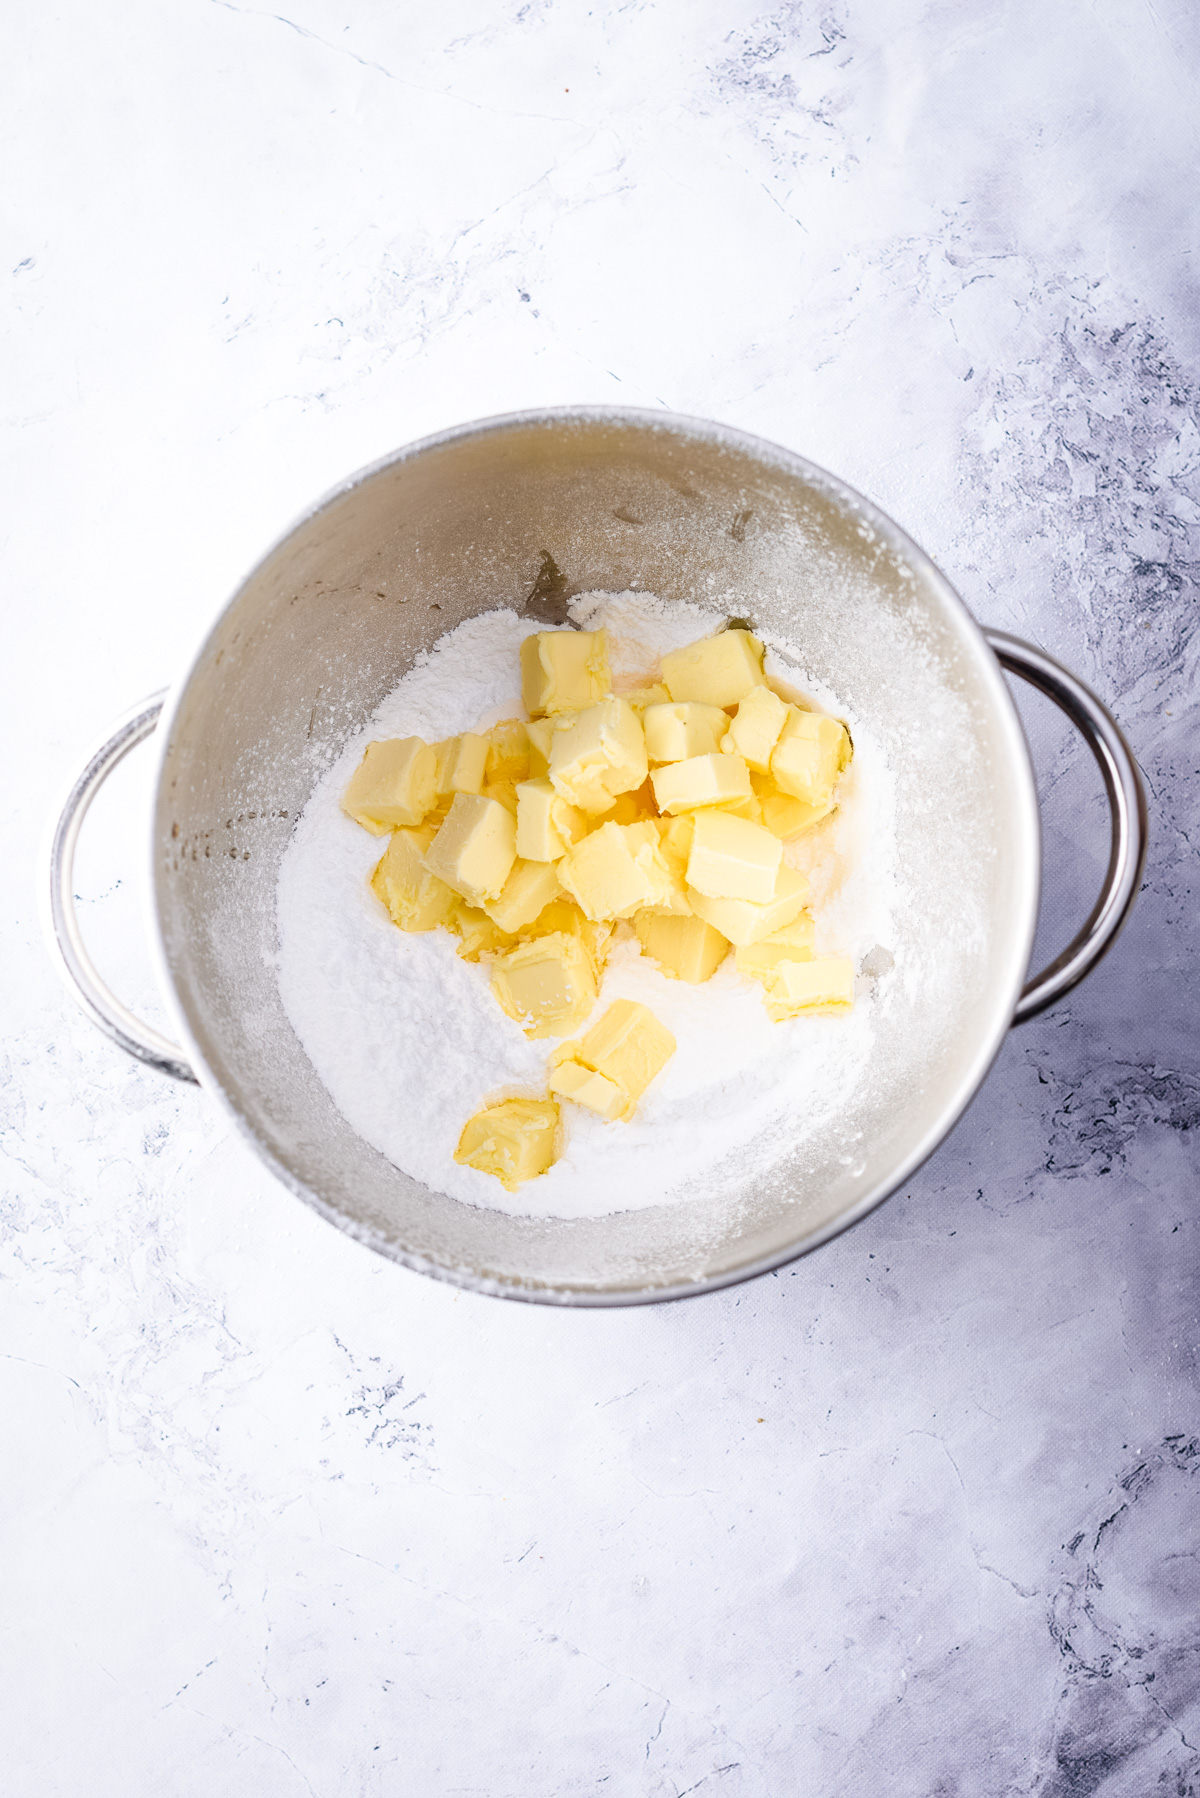
Cut your butter into small cubes.
Butter has to be softened before being used in this recipe. But if it’s cold or if you are in a hurry, microwave butter in 5 second intervals (you'll need to do this 2- 3 times). This way it won’t melt but it will be softened!
In a stand mixer bowl, cream the butter and sugar at a medium speed until both ingredients are fully integrated. It should look a bit lighter in color and fluffy.
You can't over-cream the mixture, so fluffier the better! I did this for 8 to 10 minutes.
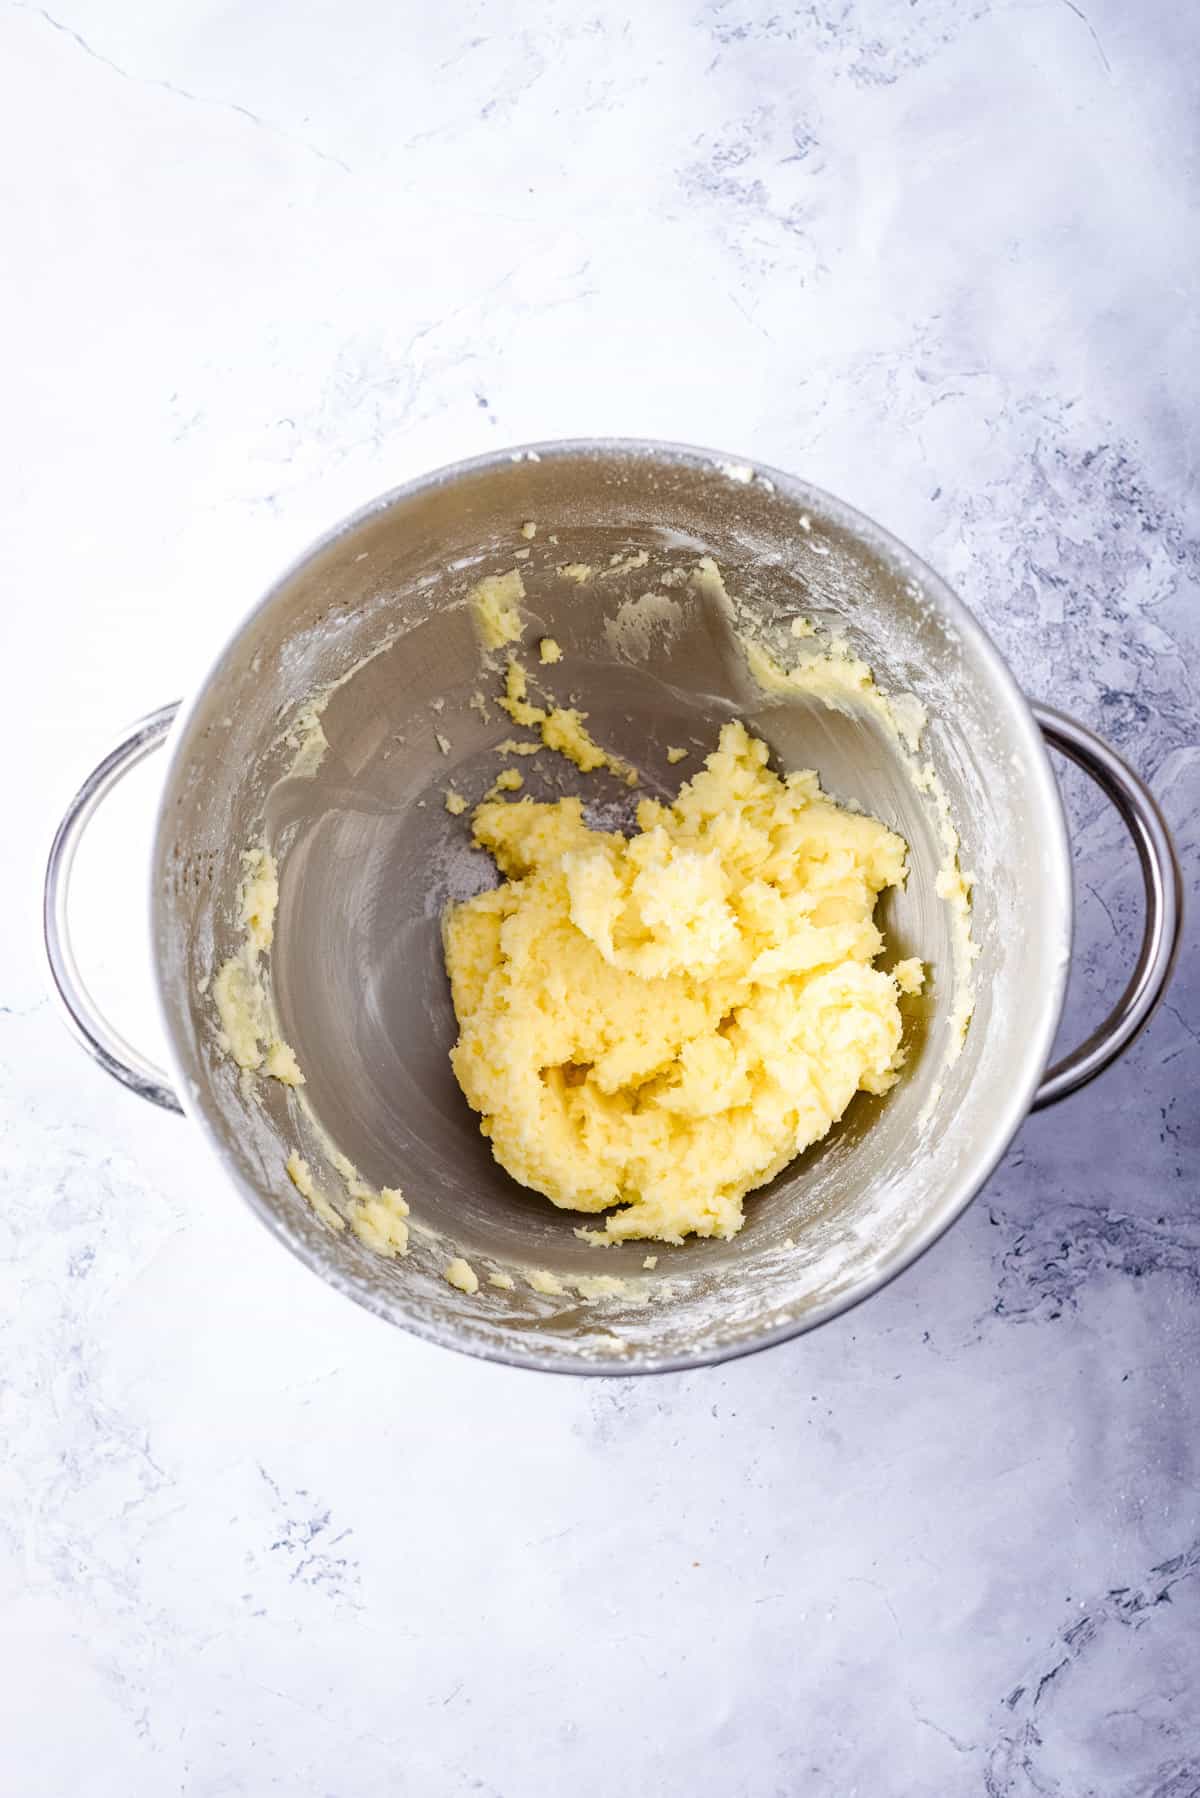
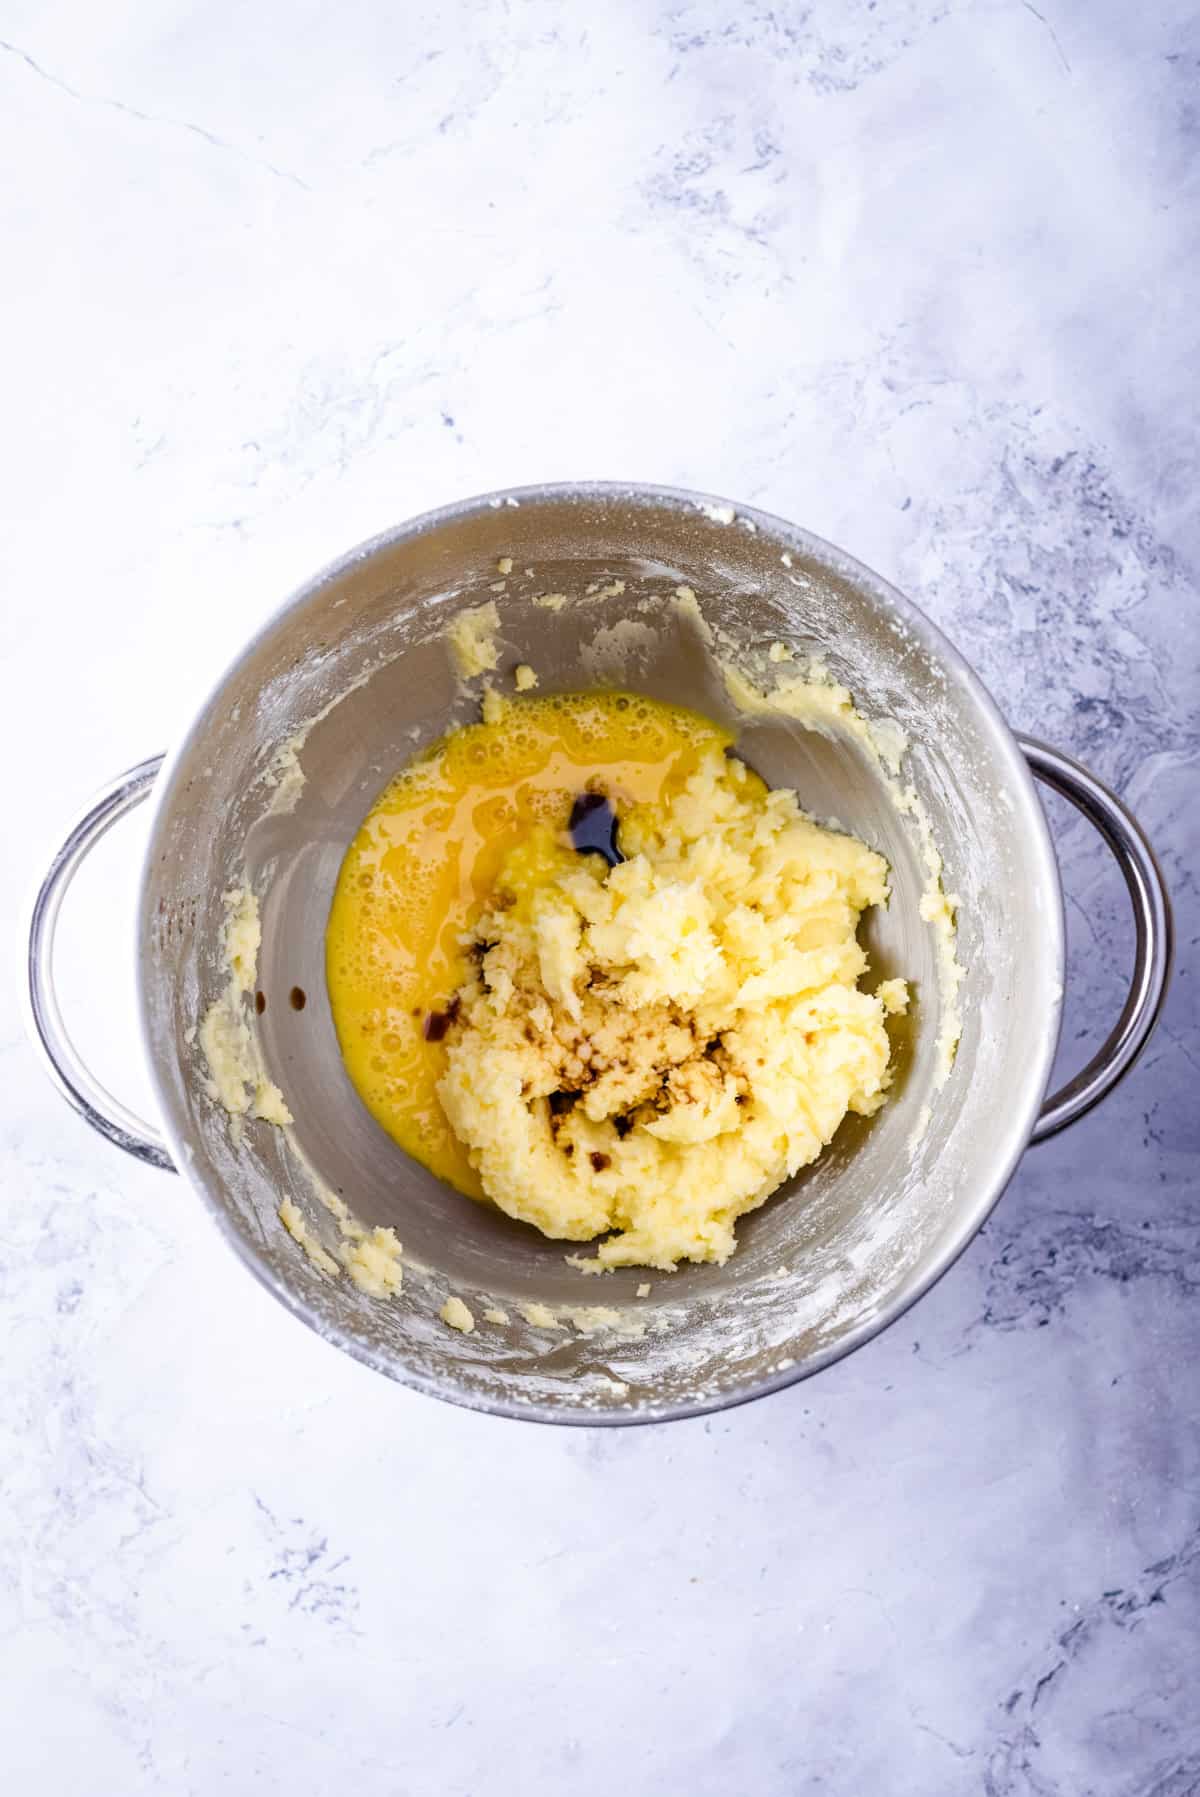
Add the egg and vanilla and keep beating until well combined.
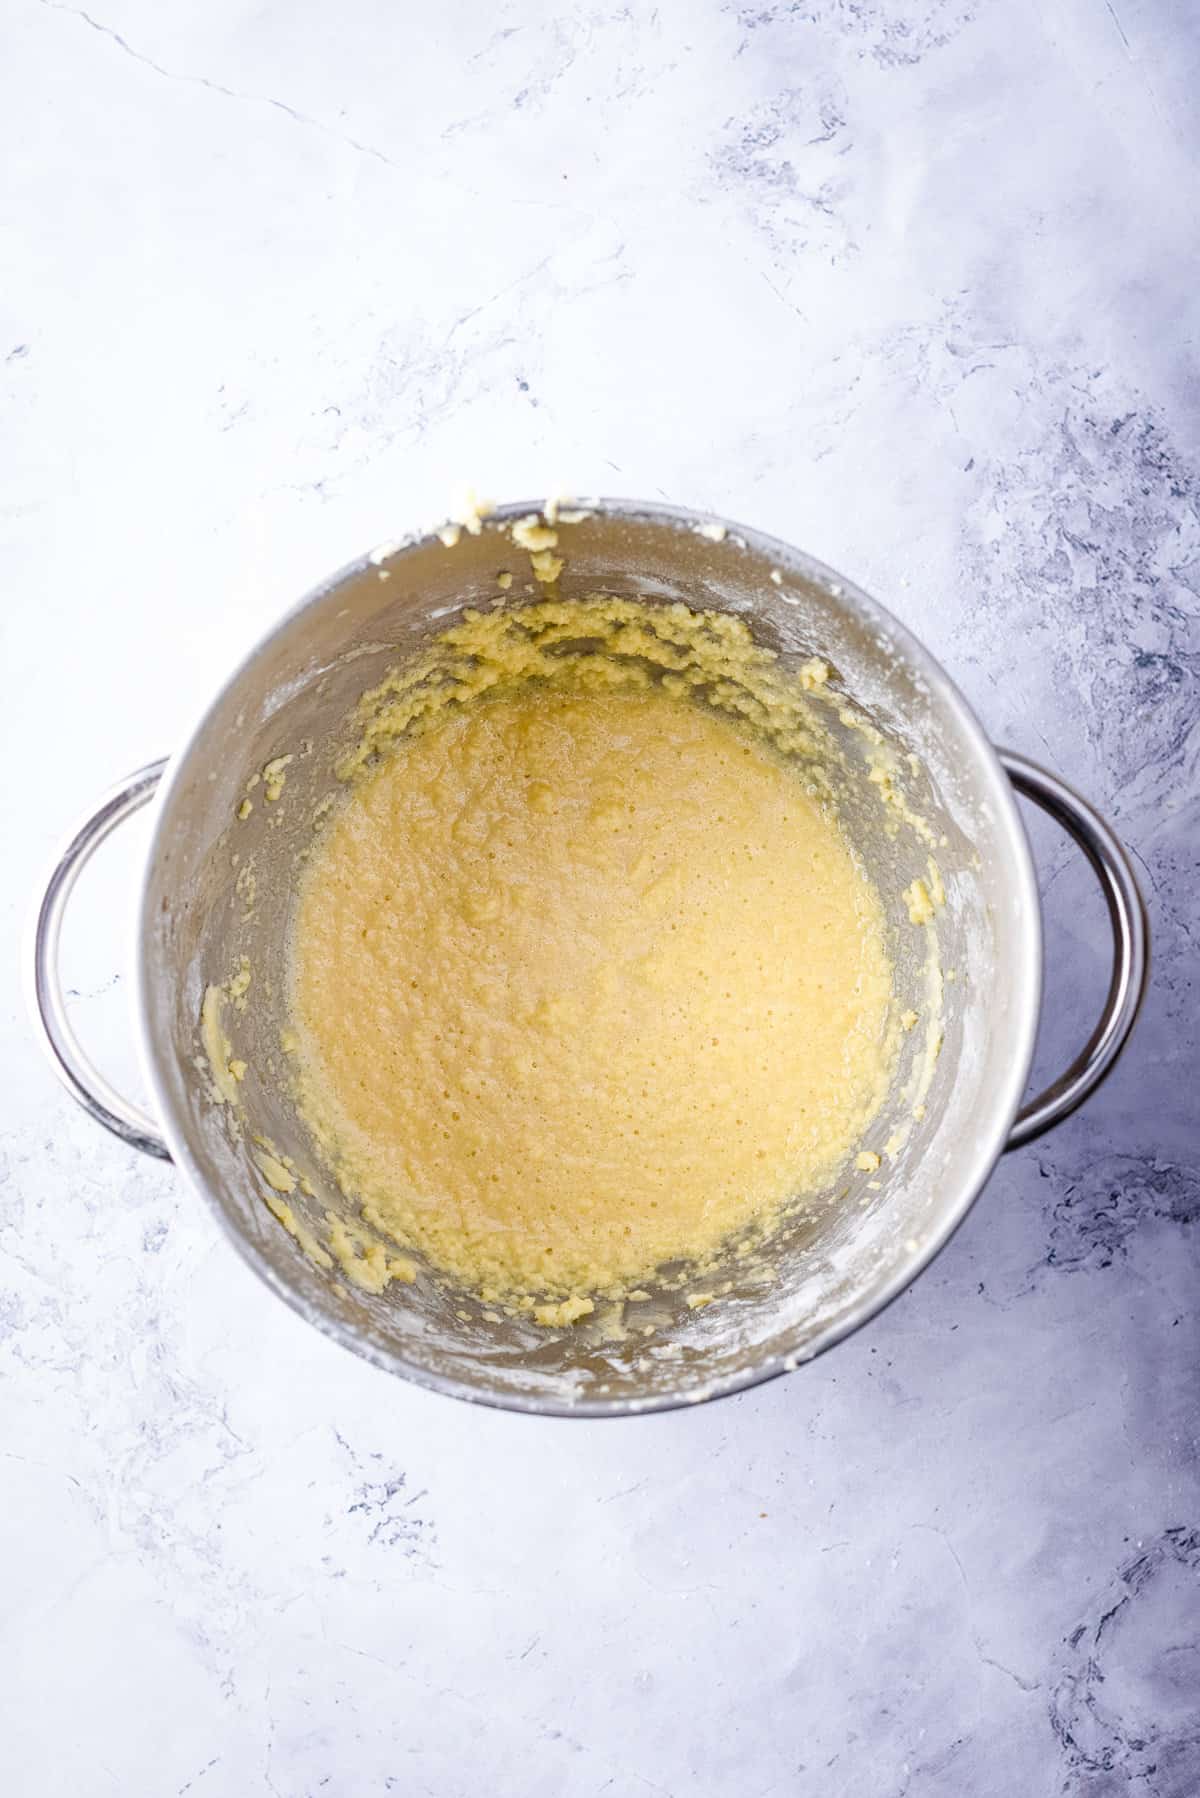
After that, remove the mixing bowl from the stand mixer. Sift the flour and salt together, and then slowly add to the mixing bowl. Use a spatula to integrate well these ingredients into the butter mix. Don't overmix the dough!
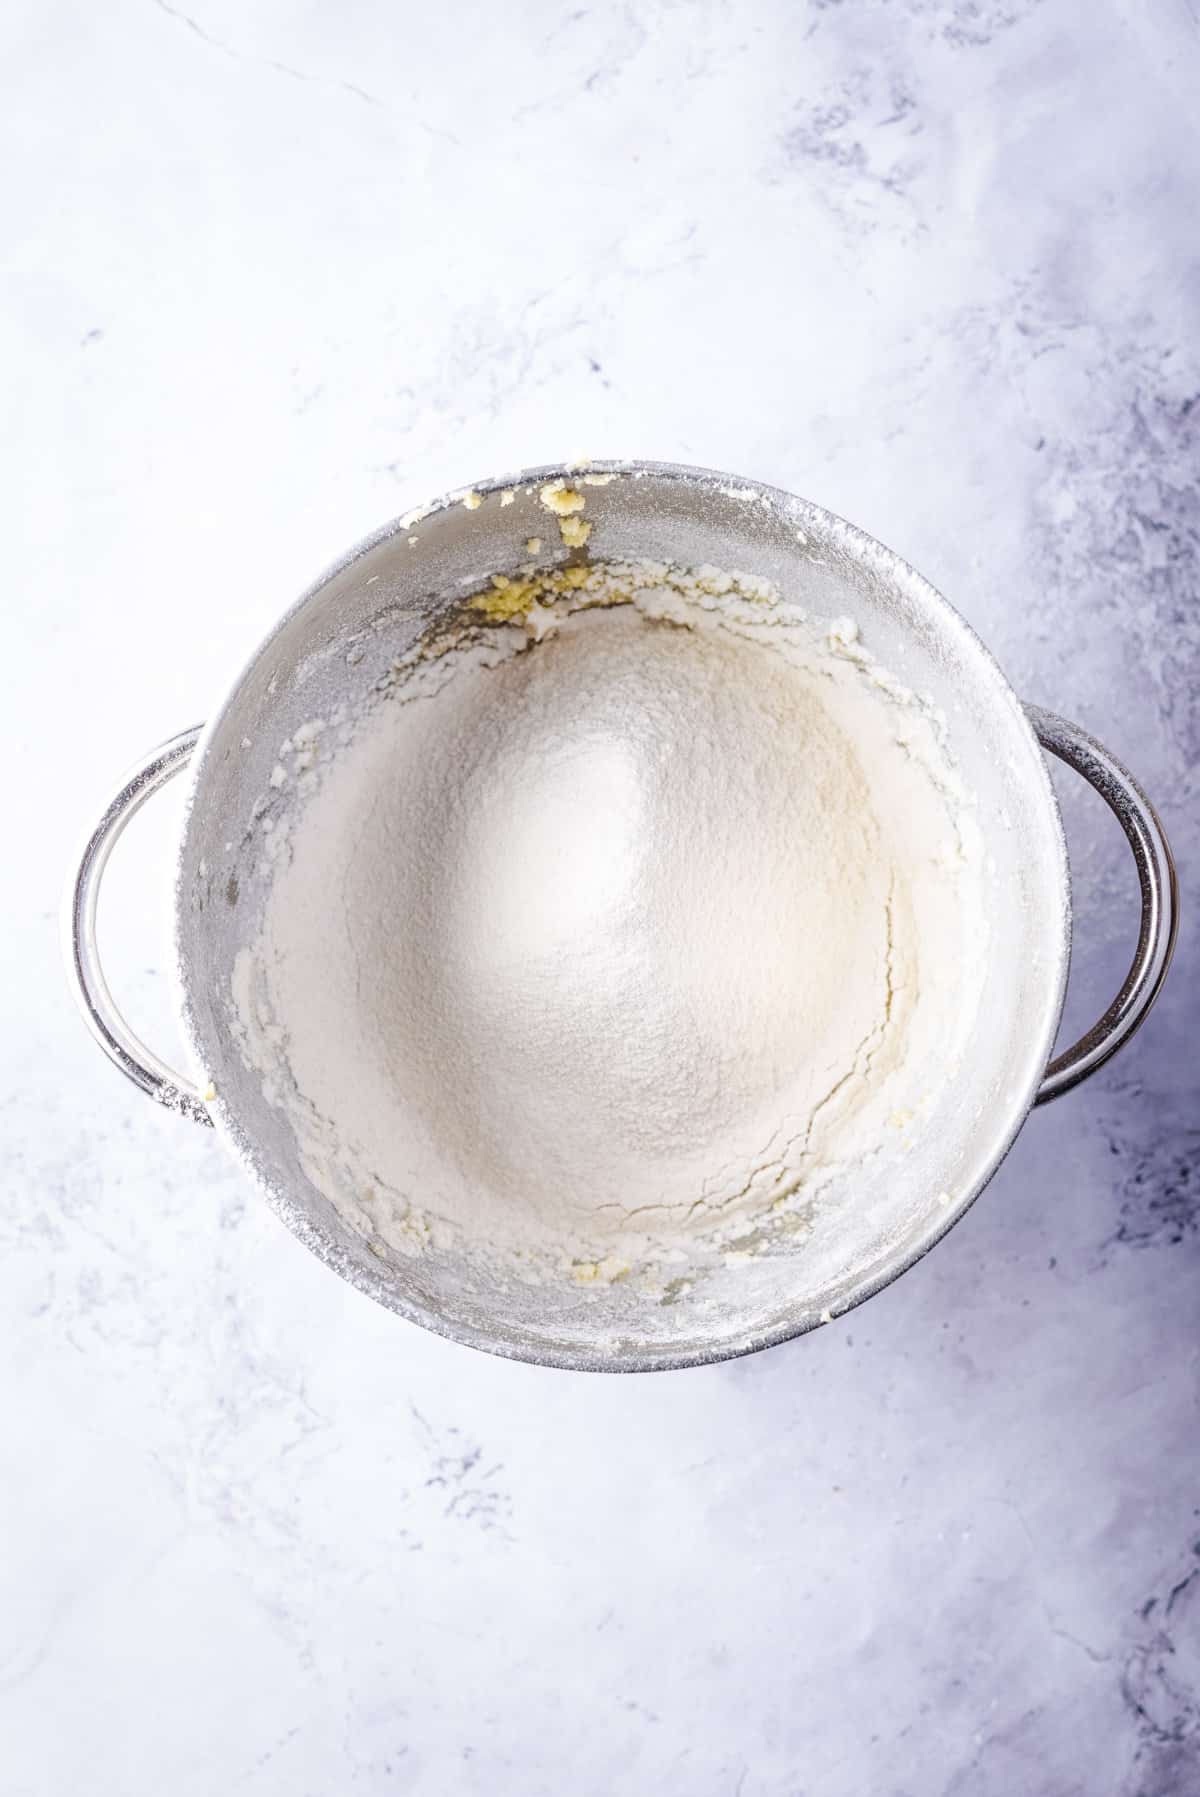
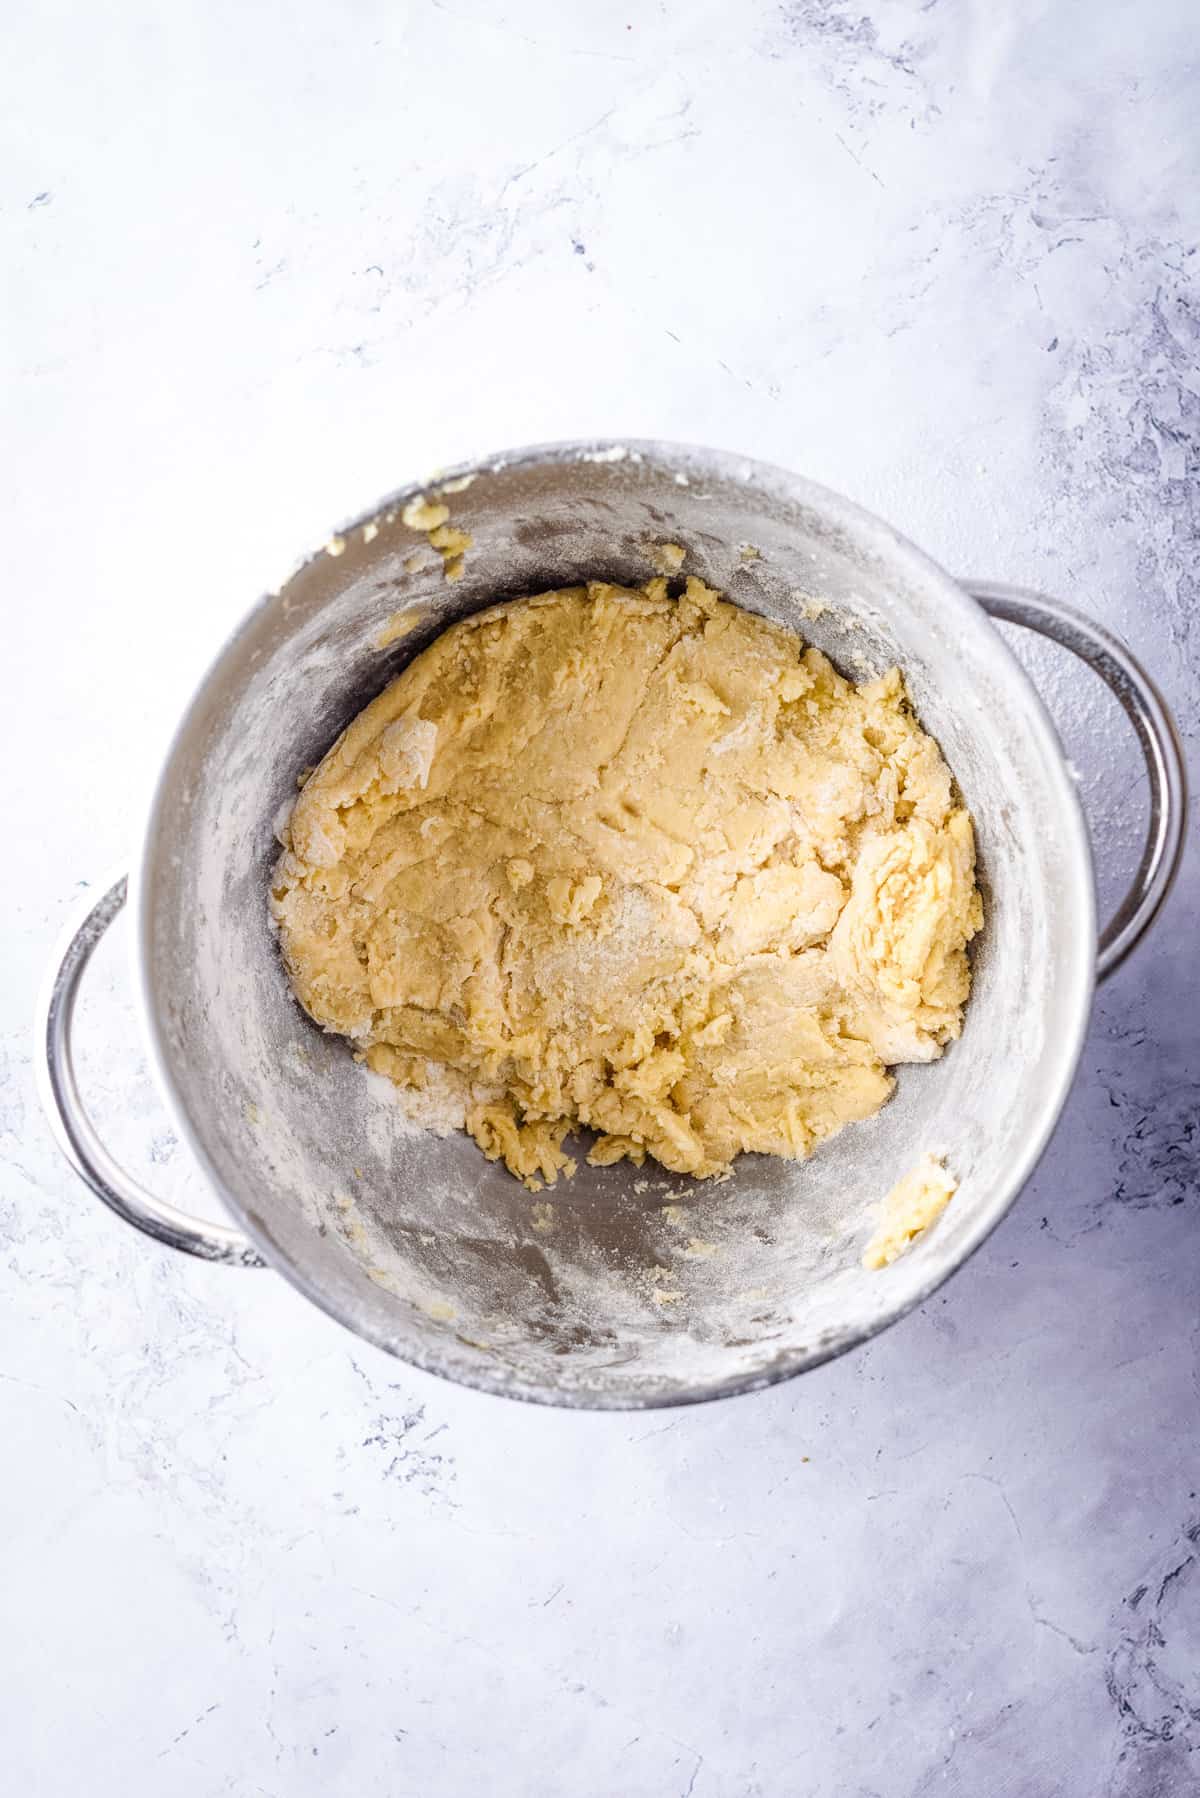
Preheat the oven to 350°F. Feel the dough and ensure that it's smooth, and if not, add a bit of milk to ensure that it's the right texture. Transfer the dough to a piping bag.
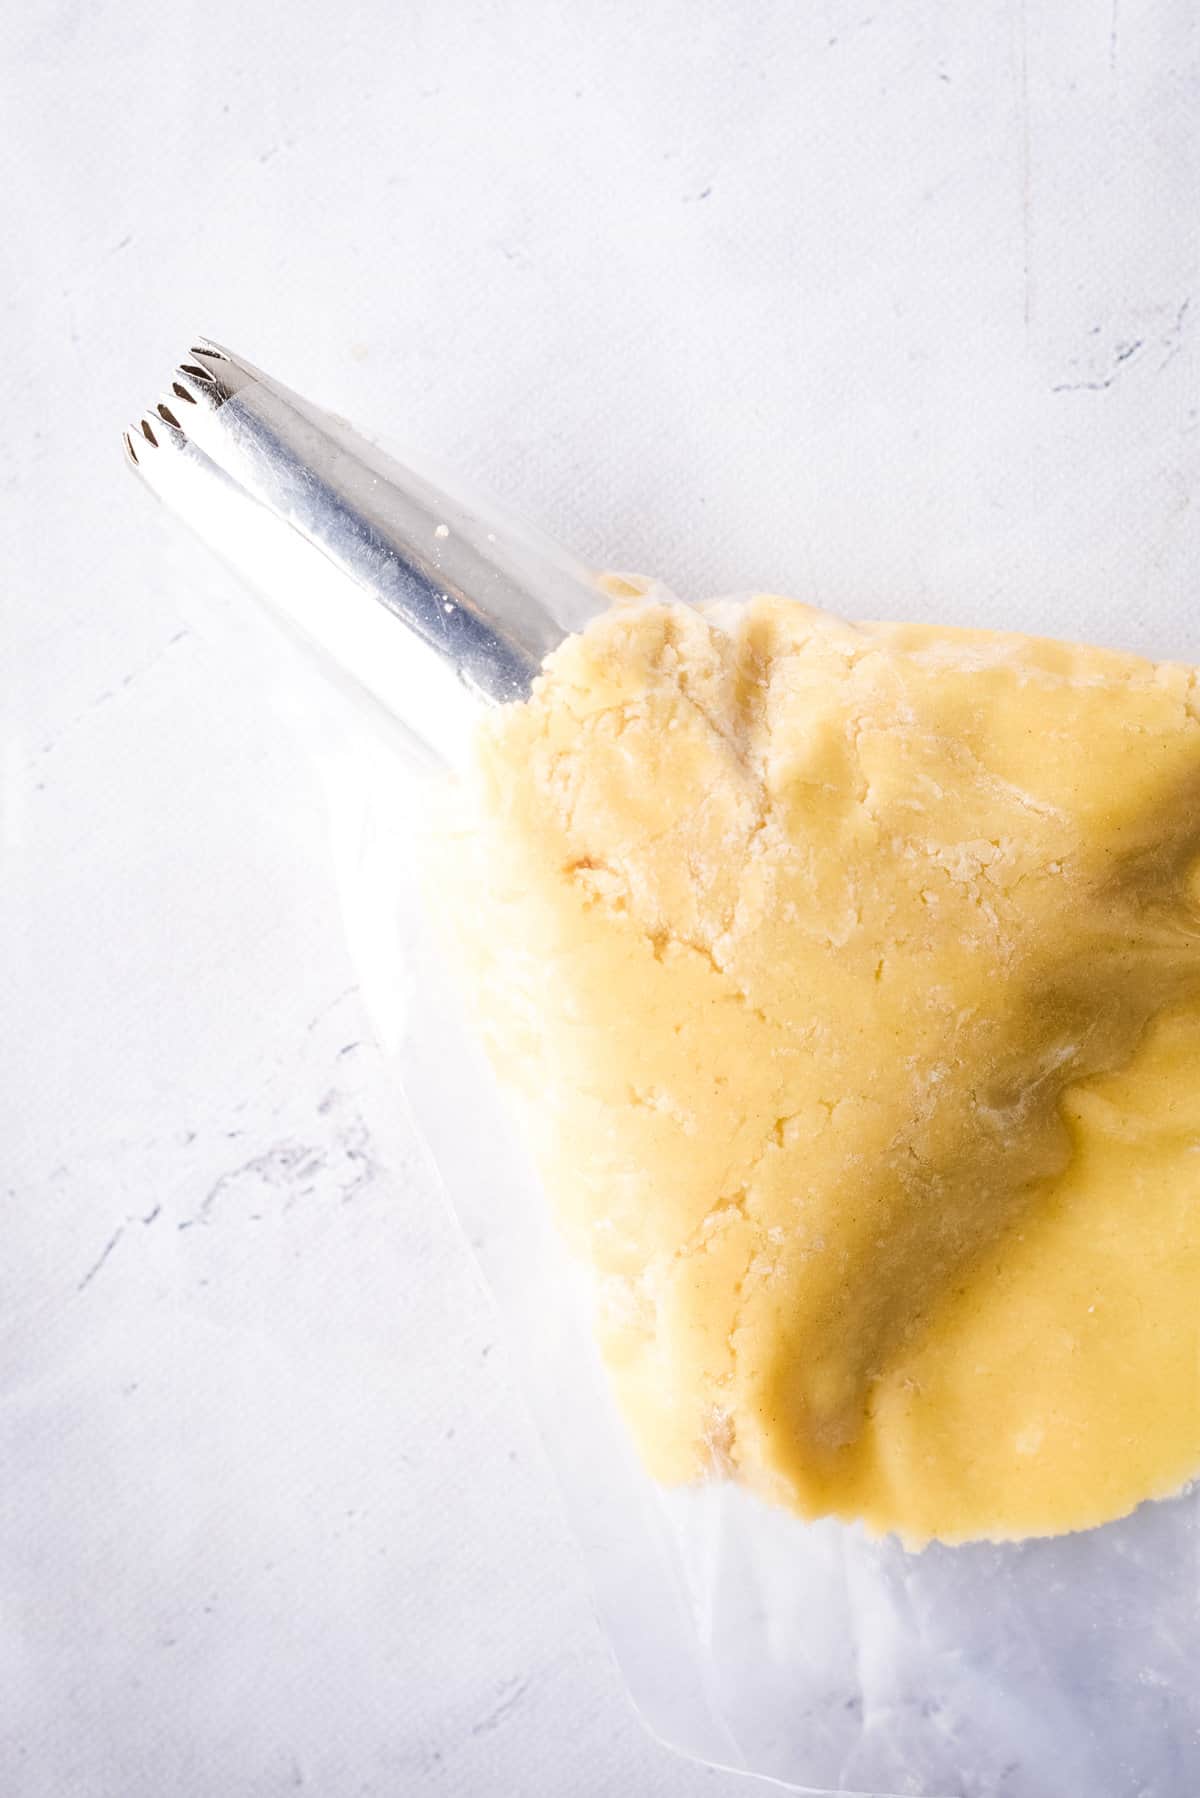
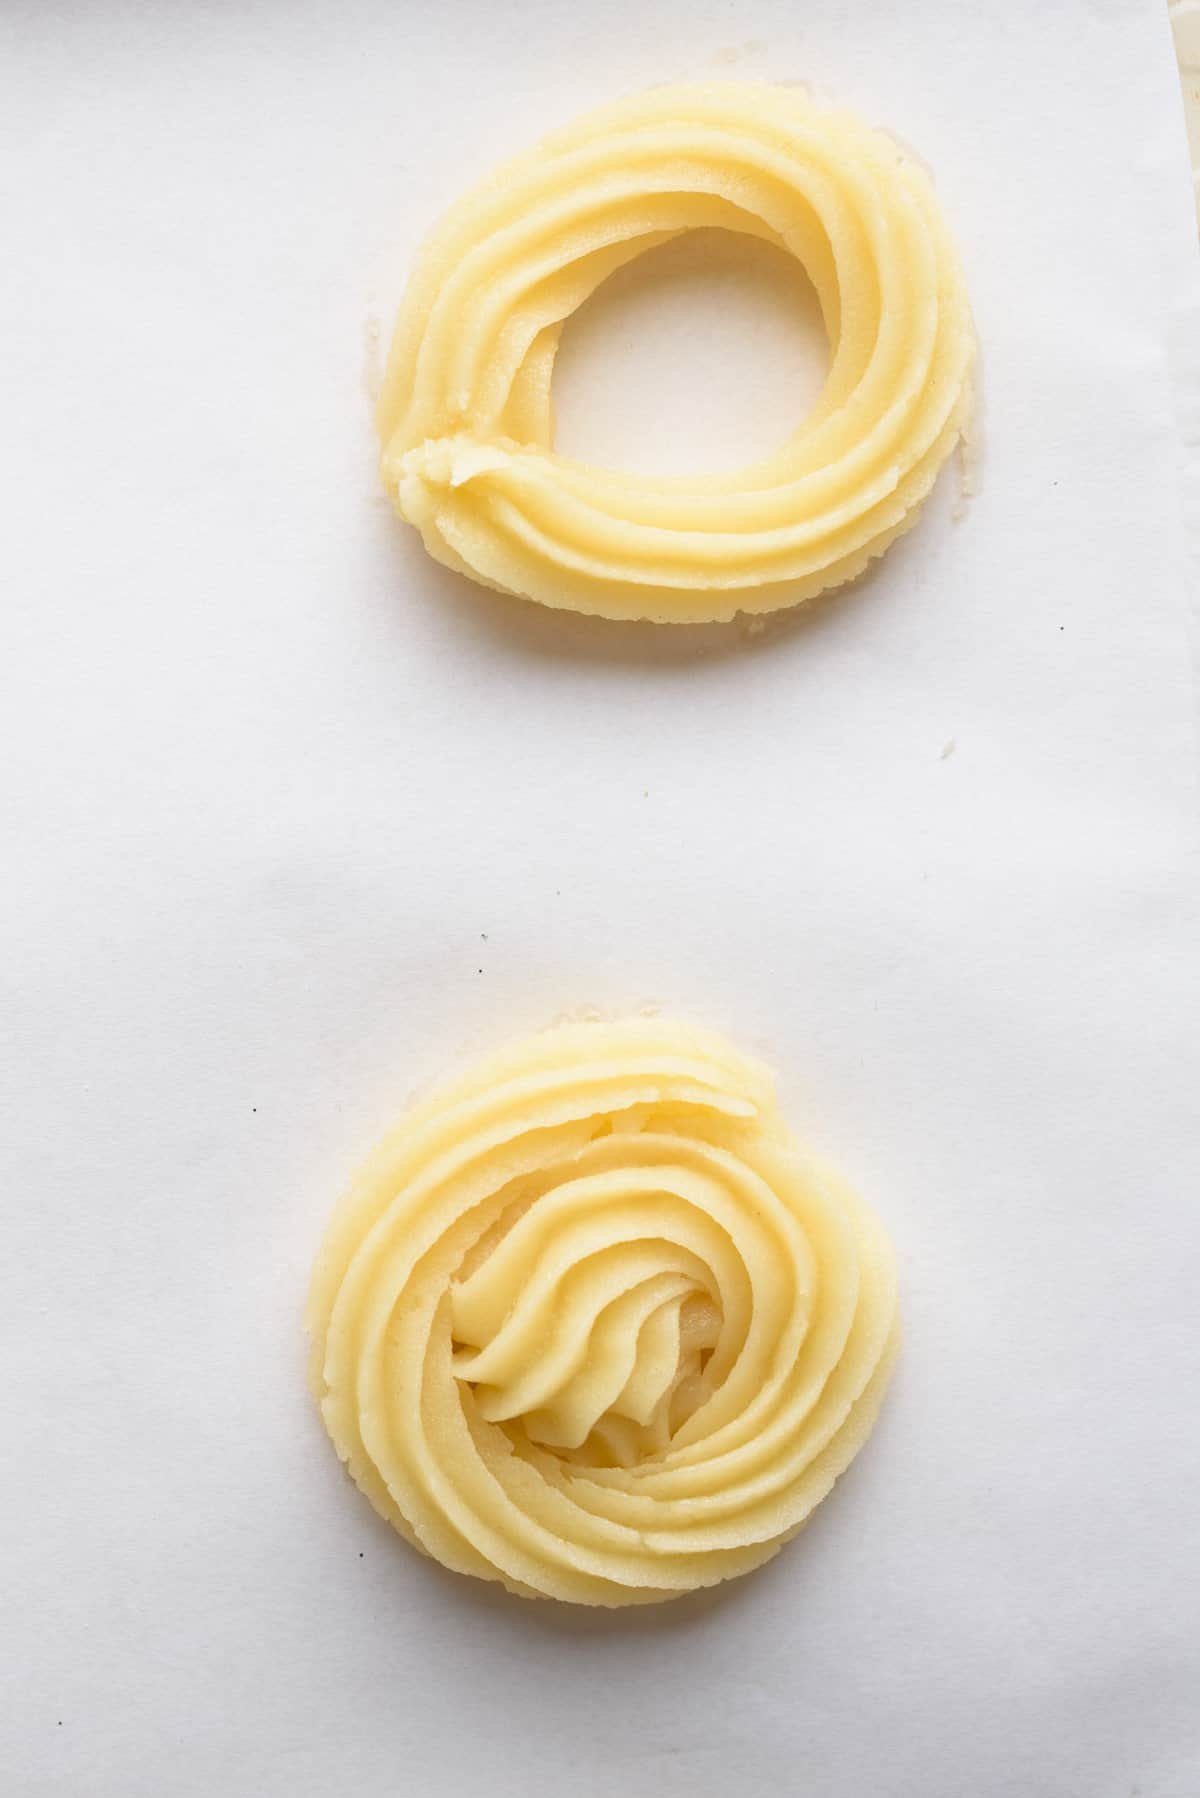
Then, pipe the dough using a 1M open star tip onto a baking sheet lined with parchment paper. If the dough is too hard to pipe, you can add milk to it to make sure it's the right consistency.
Refrigerate the piped cookies for 20 minutes before baking. This will allow it to settle into its shape and prevent excess spreading when you bake it.
Cook to 375°F for 8 minutes or until the edges turn golden brown. It’s ok if the center looks pale.
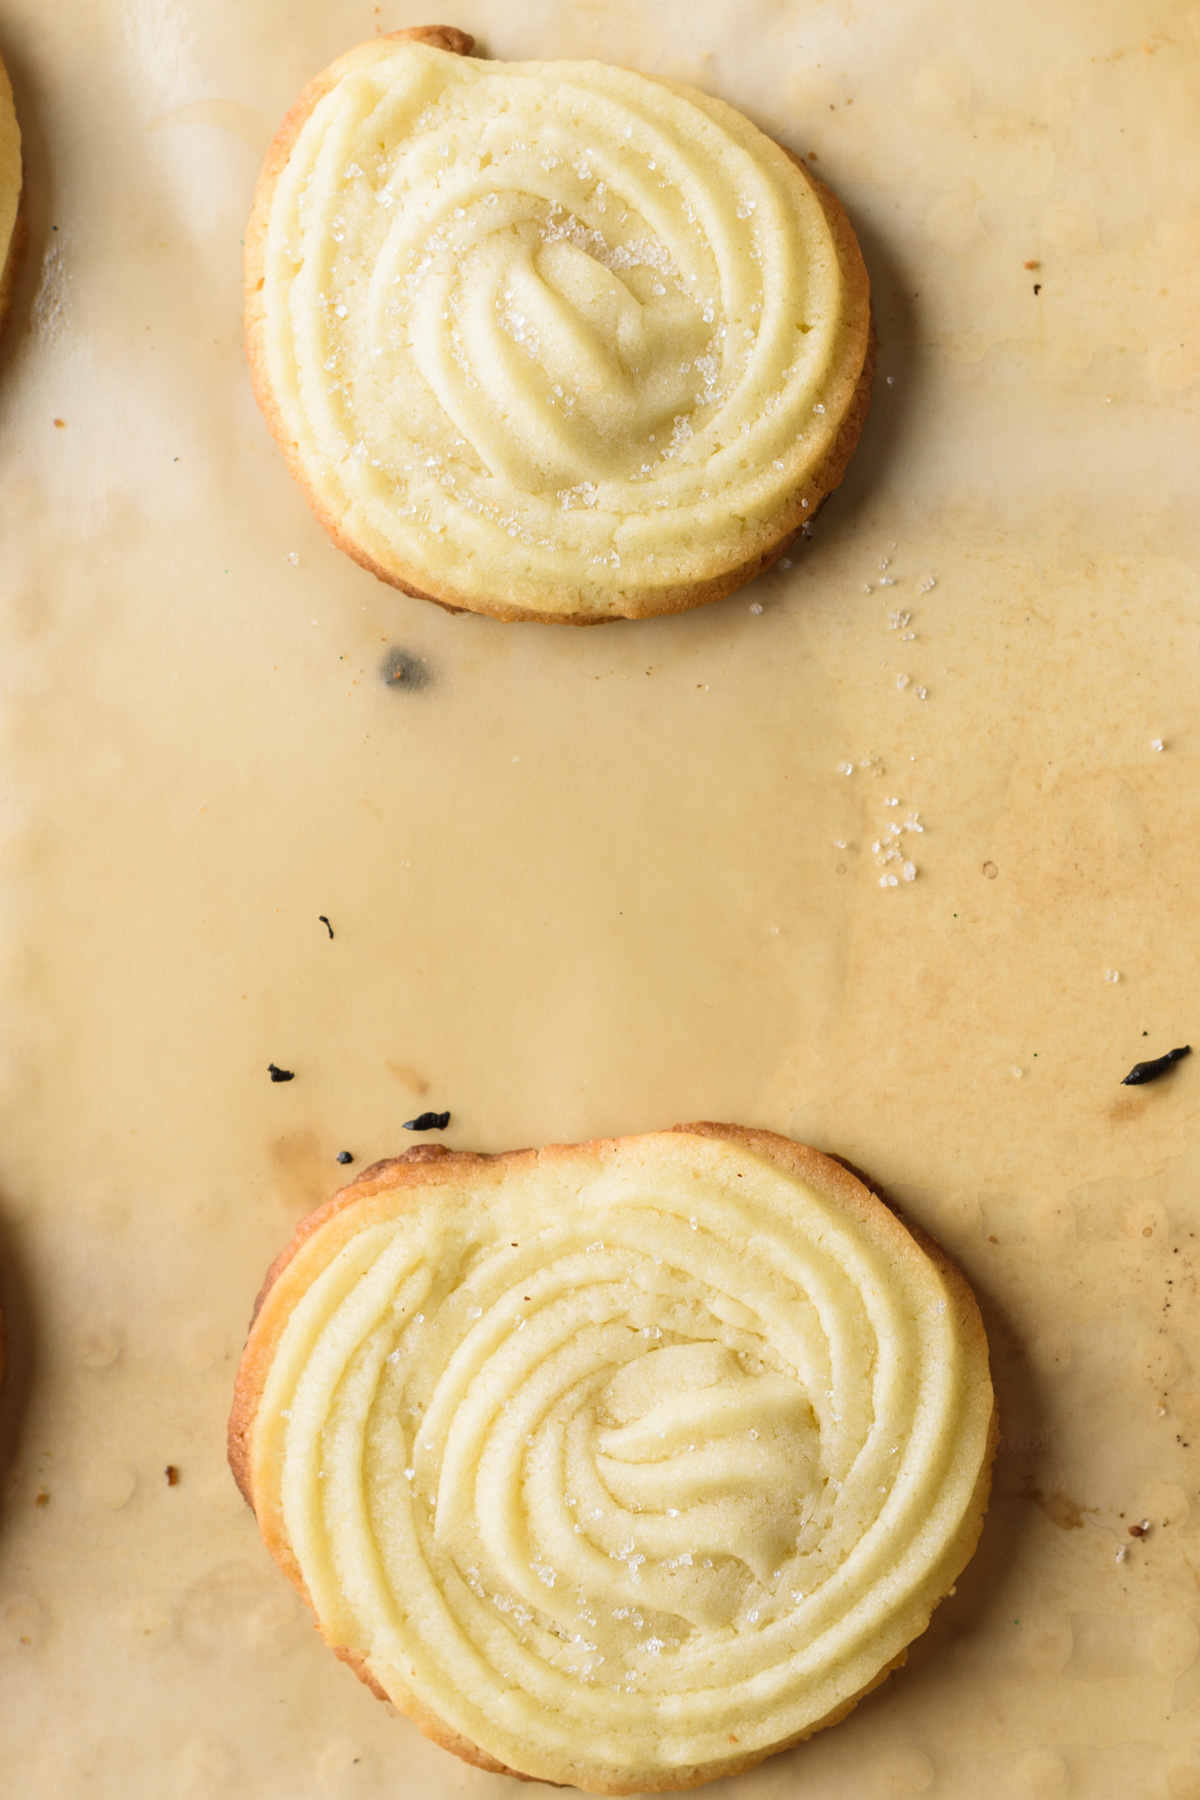
Wait until they cool for about 5 minutes. Serve and enjoy!
👩🏽🍳Top Tips for Perfect Danish Butter Cookies!
Follow these five tips to make perfect Danish butter cookies every time.
- Use good quality butter. This is a cookie where the flavor of the butter really shines through, so I like using unsalted Kerrygold butter for this recipe because it has lower water content and higher fat content. European butters will work a tad bit better than regular butter, but just make sure to get a good quality one at room temperature so that it mixes evenly with the other ingredients.
- Sift the flour or add it little-by-little. Sifting the flour using a sifter or a fine mesh sieve, or adding it little by little to wet ingredients will help aerate the dough, and ensure it's mixed in well.
- Ensure right consistency before piping. The dough should be silky so you can easily pipe. If it's dry or not smooth enough, add a bit of milk and mix really well until it's the right consistency.
- Be mindful of your baking time. These cookies should be golden brown around the edges but still pale in the center. If they're too pale, they'll be doughy; if they're too brown, they'll be dry and crumbly. So keep an eye on them as they bake and take them out of the oven when they're just right.
- Let them cool completely before eating. These cookies are best after they've had a chance to cool completely and crisp up a bit.
👩🏽🍳Troubleshooting FAQs
The main difference is the amount of butter that is used in the dough. Shortbread cookies generally have a higher ratio of butter to flour, which gives them a richer flavor and a more crumbly texture. Danish butter cookies, on the other hand, have a lower ratio of butter to flour. This results in a cookie that is less rich, more delicate in flavor, like light and fluffy cakes than dense and crumbly shortbread cookies.
When the dough is chilled, it firms up and becomes less sticky, making it easier to work with. In addition, chilling dough helps to prevent spreading during baking. As a result, your cookies will be evenly shaped and will have a more consistent texture.
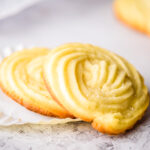
I prefer using the Wilton 1M star piping tip, and then piping it in a ring that's slightly less than 2 inches. However, if you don't want to go through that (or if you don't have a piping bag and tip) - you can just use a cookie press of your choice. It'll taste just as good!
🍴 Serving and storage suggestions
These Danish butter cookies can be stored in an airtight container at room temperature for up to a week or frozen for up to 3 months.
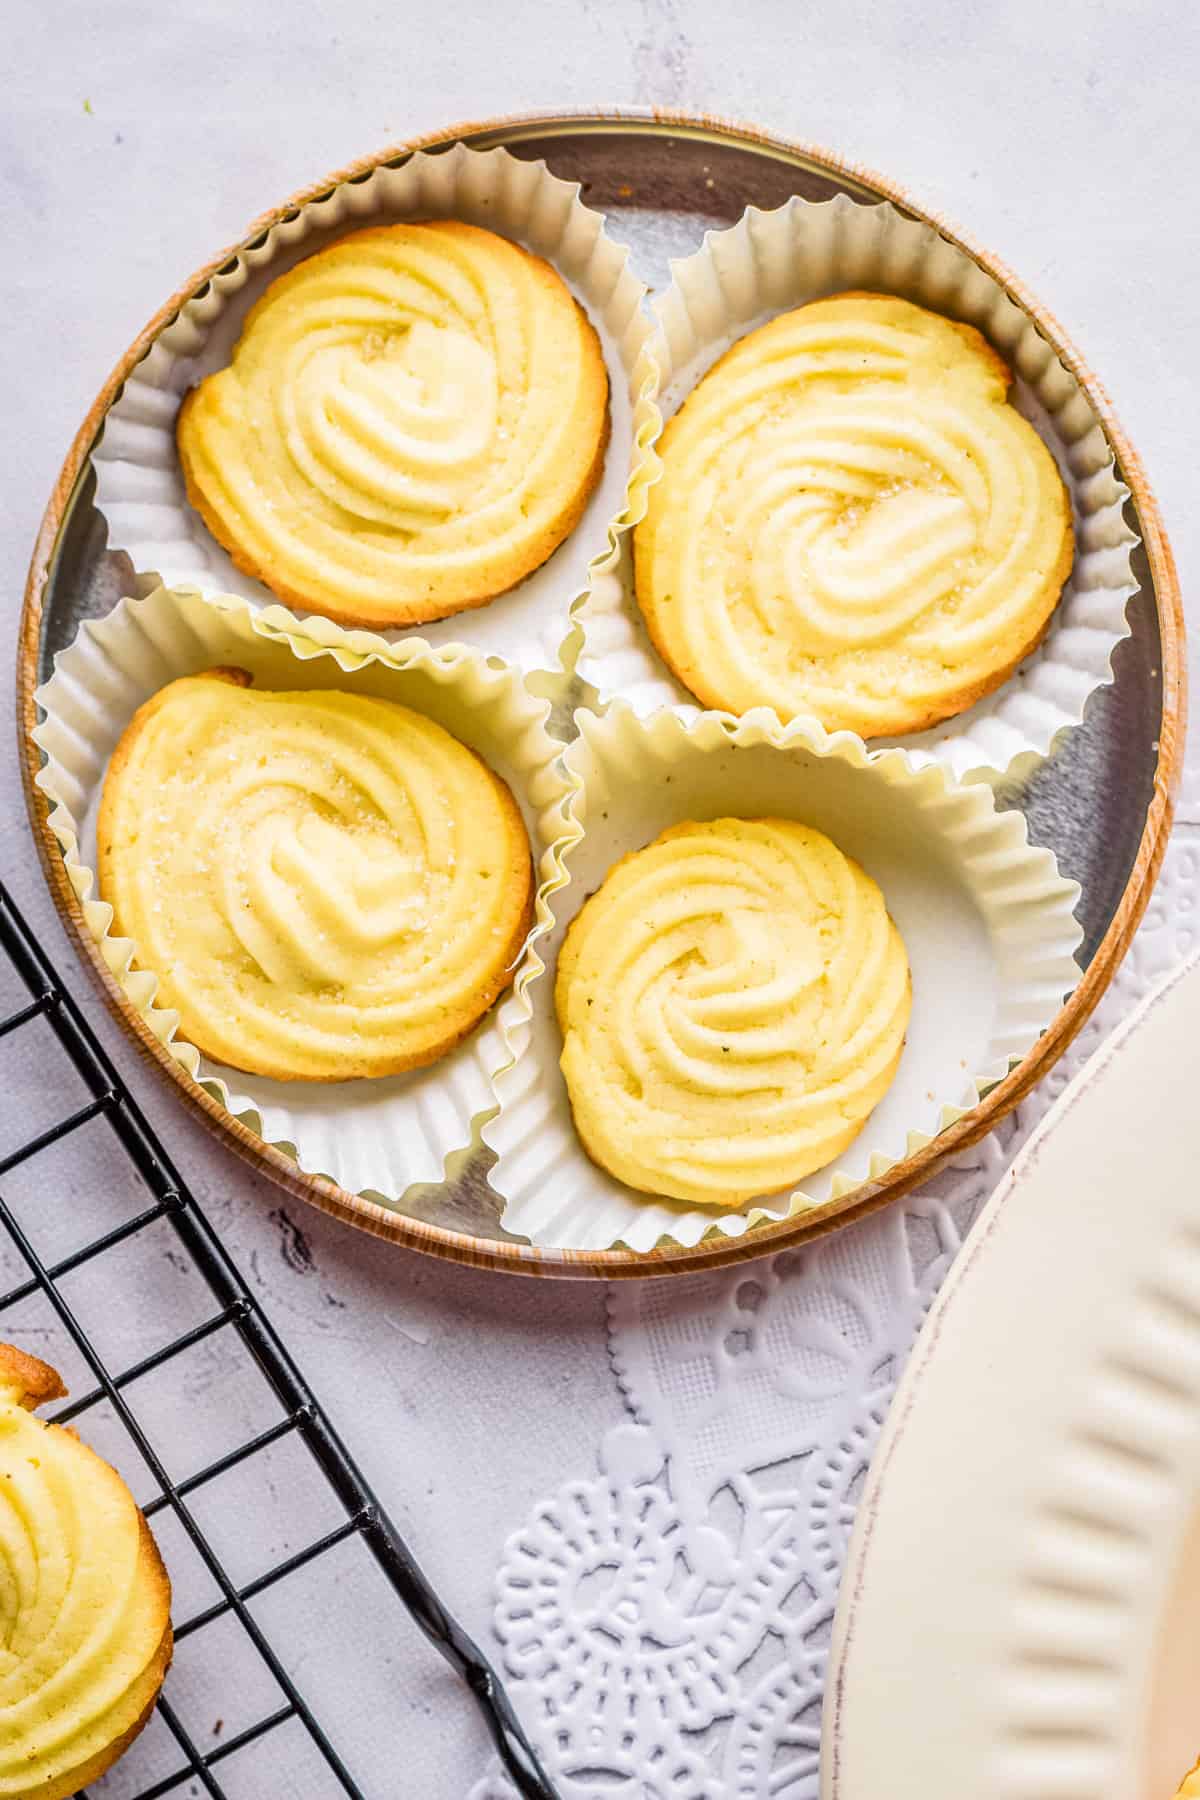
P.S., Though most people believe that Danish butter cookies are only for Christmas, the truth is that they can be eaten at any time of year. They have a light sweetness to them which goes great with coffee or tea (especially elderflower tea!) The best part is, these cookies aren't too difficult to make at home making them perfect if you want something sweet without all the guilt!
If you like this recipe, check out my other awesome cookie recipes:
If you tried this recipe, don't forget to comment and rate! ⭐⭐⭐⭐⭐
📖 Recipe
Danish Butter Cookies
Equipment
- 1 Silicone Mat optional
- 1 Hand Mixer optional
- 1 Piping Set bag and 1M tip
Ingredients
- 1 cup unsalted butter, European preferred for low water content
- 1 cup powdered sugar
- 1 teaspoon vanilla extract
- 1 egg
- 2½ cups all-purpose flour, substitute cake flour for a fluffier cookie
- 1 teaspoon salt, optional
Instructions
- Cut butter into small cubes and soften it. Note: If butter is still cold or you are in a hurry, place the cubes on a microwave-safe dish and microwave for 15 seconds (in 5-second intervals).
- To a stand mixer bowl, add butter and sugar and cream together at a medium speed well until both ingredients are fully integrated (this can take 8-10 minutes!) It should look a bit lighter in color and fluffy. Then, add the egg and vanilla and keep beating until well combined
- Sift your flour and then add salt and sifted flour to the stand mixer bowl. Use a spatula to integrate well these ingredients into the butter mix. Feel the dough and ensure that it's smooth, and if not, add a bit of milk to ensure that it's the right texture. Transfer the dough to a piping bag.
- Preheat the oven to 350°F.
- Transfer the dough to a piping bag. Pipe the dough using a 1M open star tip onto a baking sheet lined with parchment paper in a 2 inch ring. If the dough still feels hard to pipe, rub the piping bag with the dough between the palms of your hand to warm the dough and make it easier to pipe.
- Refrigerate the cookies for 20 minutes before cooking.
- Cook to 375°F for about 8 to 10 minutes or until the edges turn golden brown. It’s ok if the center looks pale. Wait until they cool for about 5 minutes. Serve and enjoy!
Notes
- Use good quality butter. I like using unsalted Kerrygold butter for this recipe because it has lower water content and higher fat content. European butters will work a tad bit better than regular butter, but just make sure to get a good quality one at room temperature so that it mixes evenly with the other ingredients.
- Sift the flour or add it little-by-little. Sifting the flour using a sifter or a fine mesh sieve, or adding it little by little to wet ingredients will help aerate the dough, and ensure it's mixed in well.
- Ensure right consistency before piping. The dough should be silky so you can easily pipe. If it's dry or not smooth enough, add a bit of milk and mix really well until it's the right consistency.
- Be mindful of your baking time. These cookies should be golden brown around the edges but still pale in the center. If they're too pale, they'll be doughy; if they're too brown, they'll be dry and crumbly. So keep an eye on them as they bake and take them out of the oven when they're just right.
- Let them cool completely before eating. These cookies are best after they've had a chance to cool completely and crisp up a bit!




Where have these been all my life?! Delicate, buttery, and easy to make - these are going into the rotation. Thanks for all the helpful tips too!!
THANK YOU!!