
I first had arepas con queso in Cartagena, Colombia, and learned the recipe during a subsequent trip. Now they are a favorite in our household. I mean, who doesn’t love a cheesy, crispy corn cake that’s ready in no time? With just a few simple ingredients, you get golden-brown, cheese-stuffed patties that are so easy to make. Trust me, once you try them, they’ll be on regular rotation in your meal planning!

This post contains helpful tips and tricks! If you’re in a rush, please use the “Jump to Recipe” above!
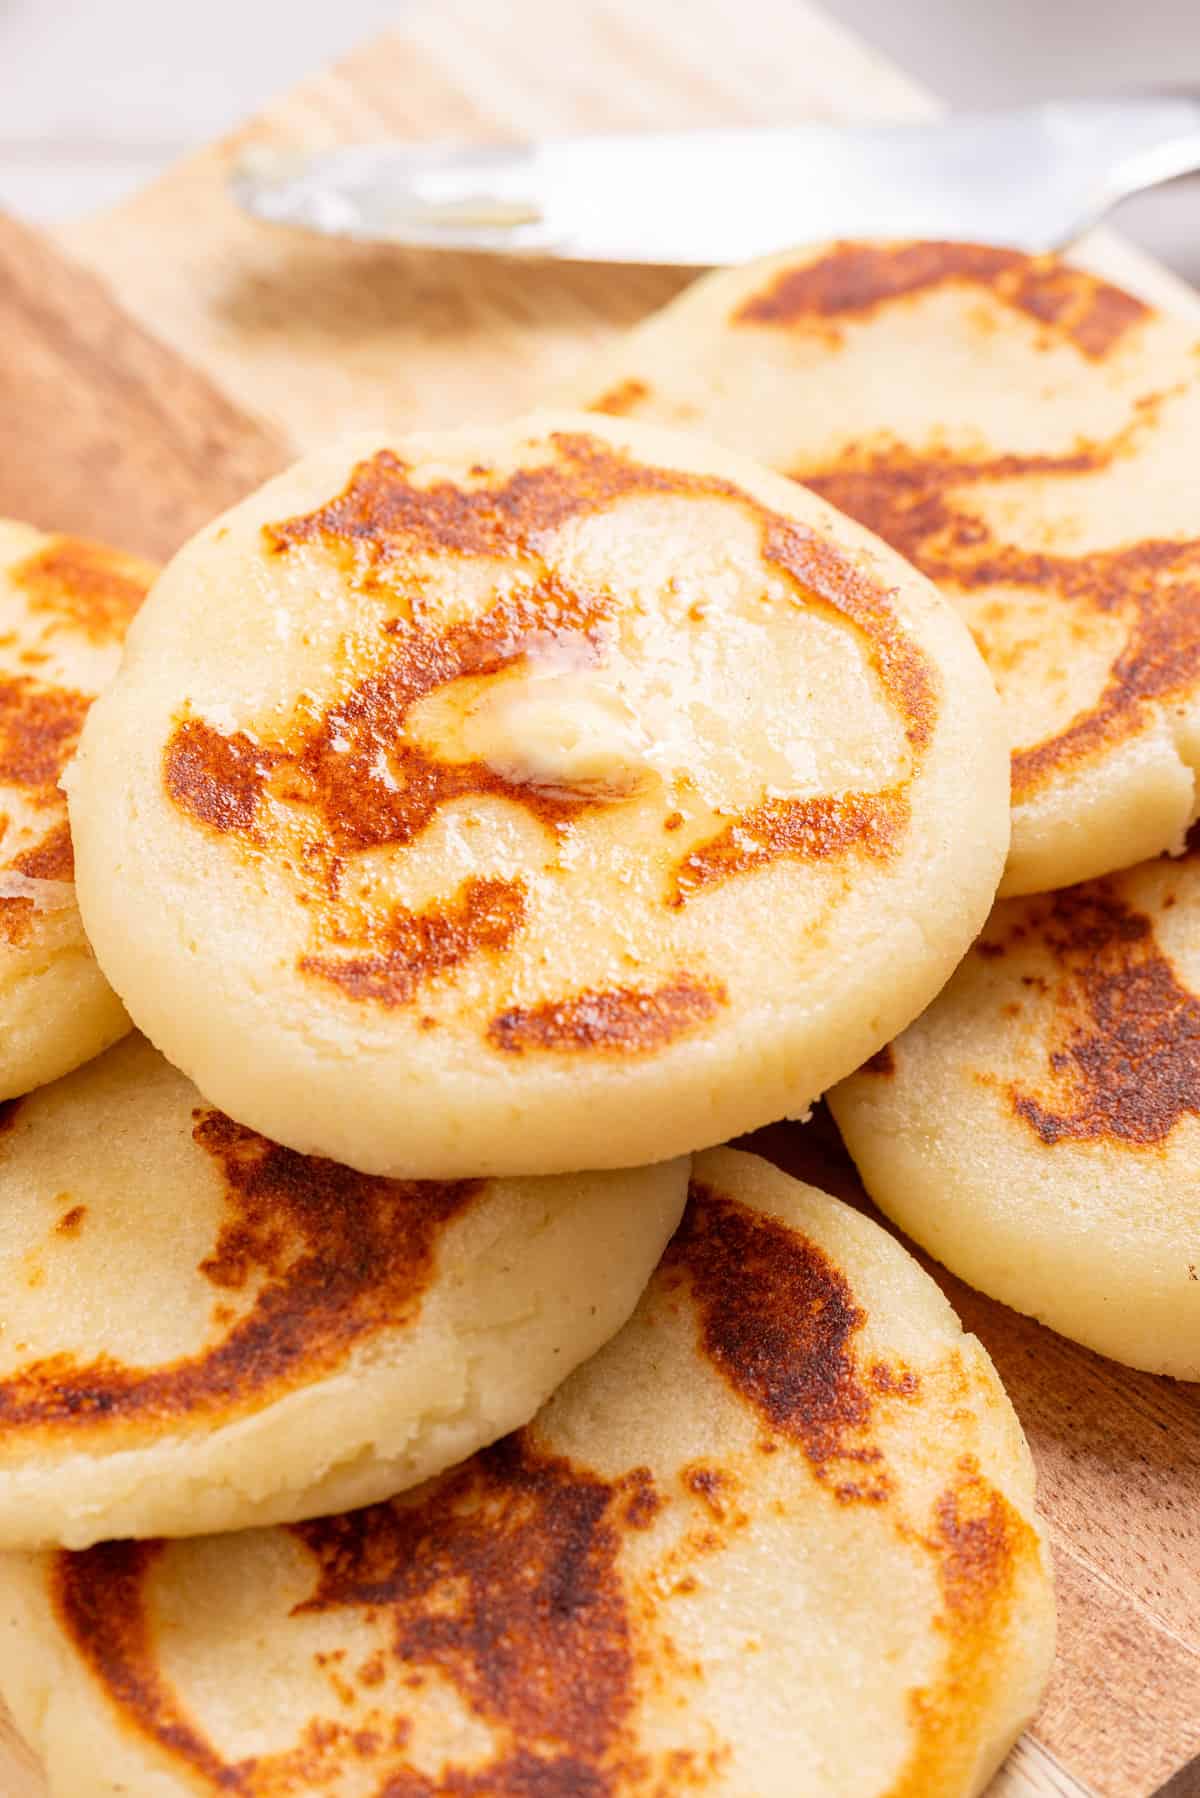
My easy (but traditional) arepas con queso recipe
Arepas con queso are a popular dish in Latin America, and if you’ve never had one, you’re in for a treat. Think of them like thick corn cakes stuffed with cheese, cooked to crispy perfection on a hot skillet. In recent times, arepas con queso gained even more popularity through Disney’s movie Encanto!
The best part? When you bite into one, you get this amazing combination of crispy edges and gooey, melty cheese inside. It’s pure comfort in every bite, and they’re just as great for a quick snack as they are for a full meal, especially when you want something comforting but don’t have the time or energy to spend hours in the kitchen (which as a new mom, it feels like it’s almost every single night).
This recipe uses naturally gluten-free ingredients, making it a great option for those with gluten allergies!
📋 Ingredients and notes
To make arepas con queso, you’ll need masarepa flour, salt, sugar, unsalted butter, freshly shredded part-skim mozzarella cheese, whole milk, lukewarm water, and nonstick cooking spray.
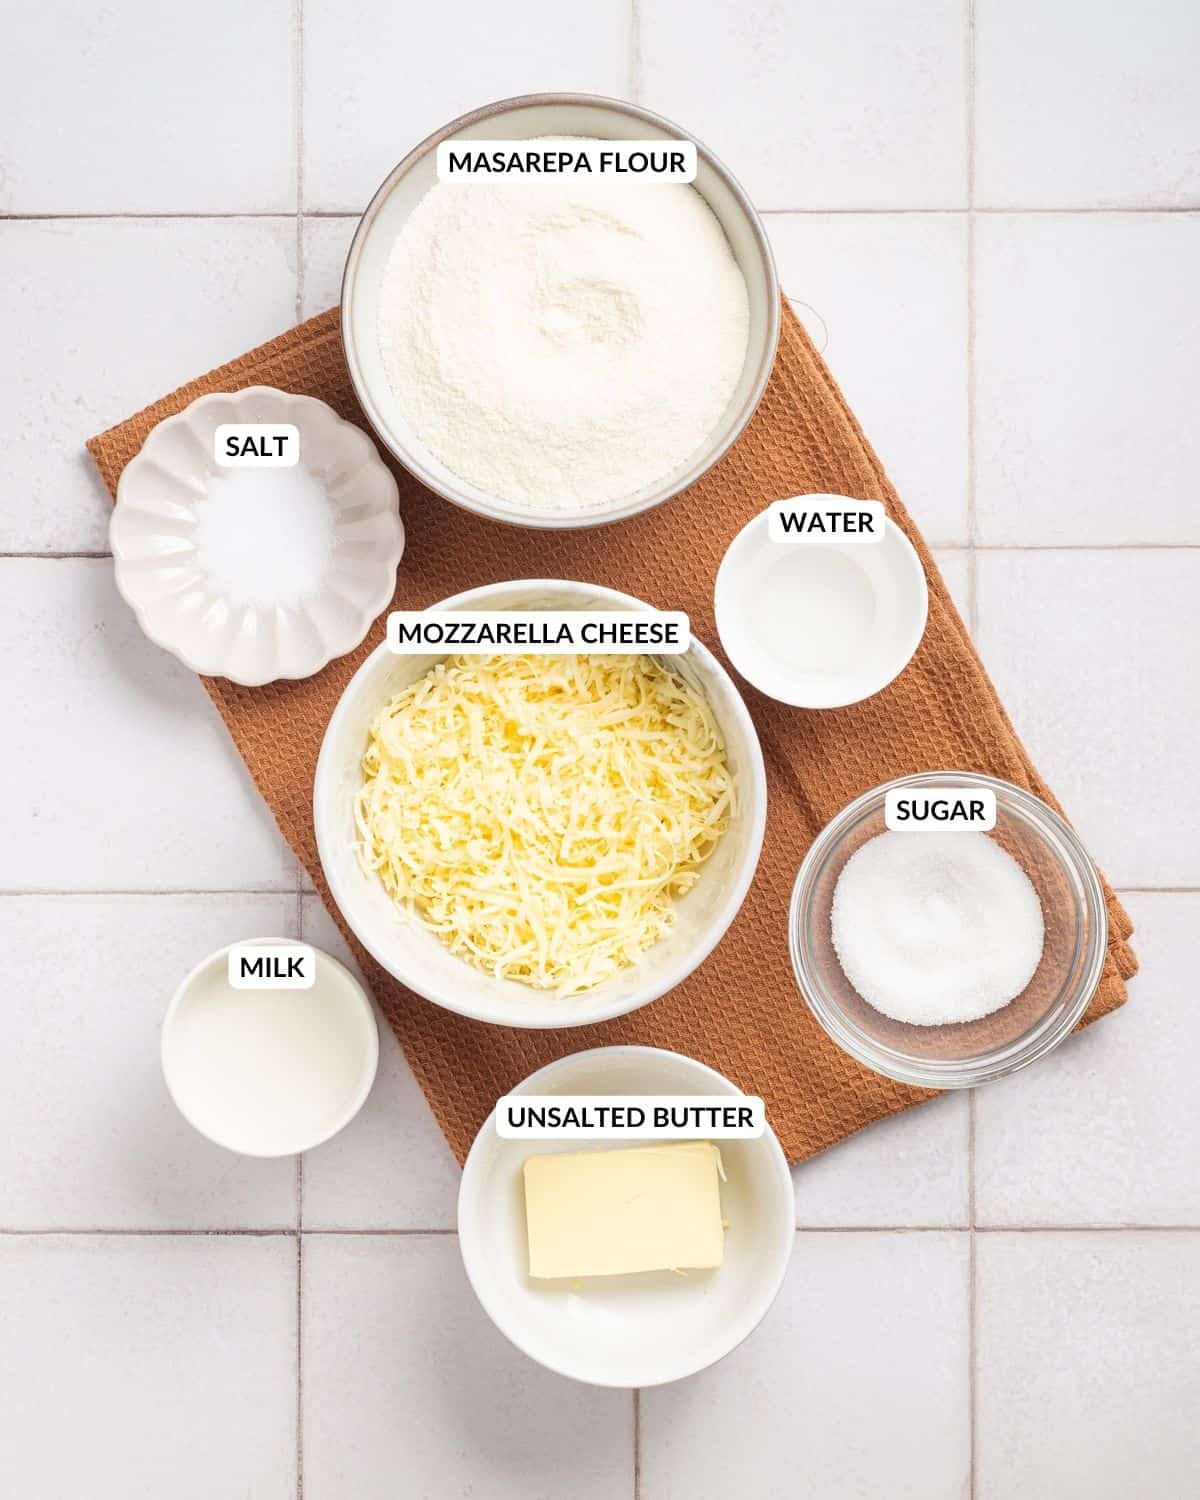
- Masarepa (precooked cornmeal) gives arepas their distinct texture. I use PAN masarepa. Look for it in the Latin section of your grocery store.
- Water: Just plain ol’ water to bring it all together.
- Cheese: I like mozzarella or queso blanco, but feel free to use your favorite melting cheese (Monterrey Jack is another great option).
- Butter: Adds a lovely flavor and helps get that golden crust.
- Salt: Don’t forget this! It really brings out all the flavors.
📖 How to make arepas con queso
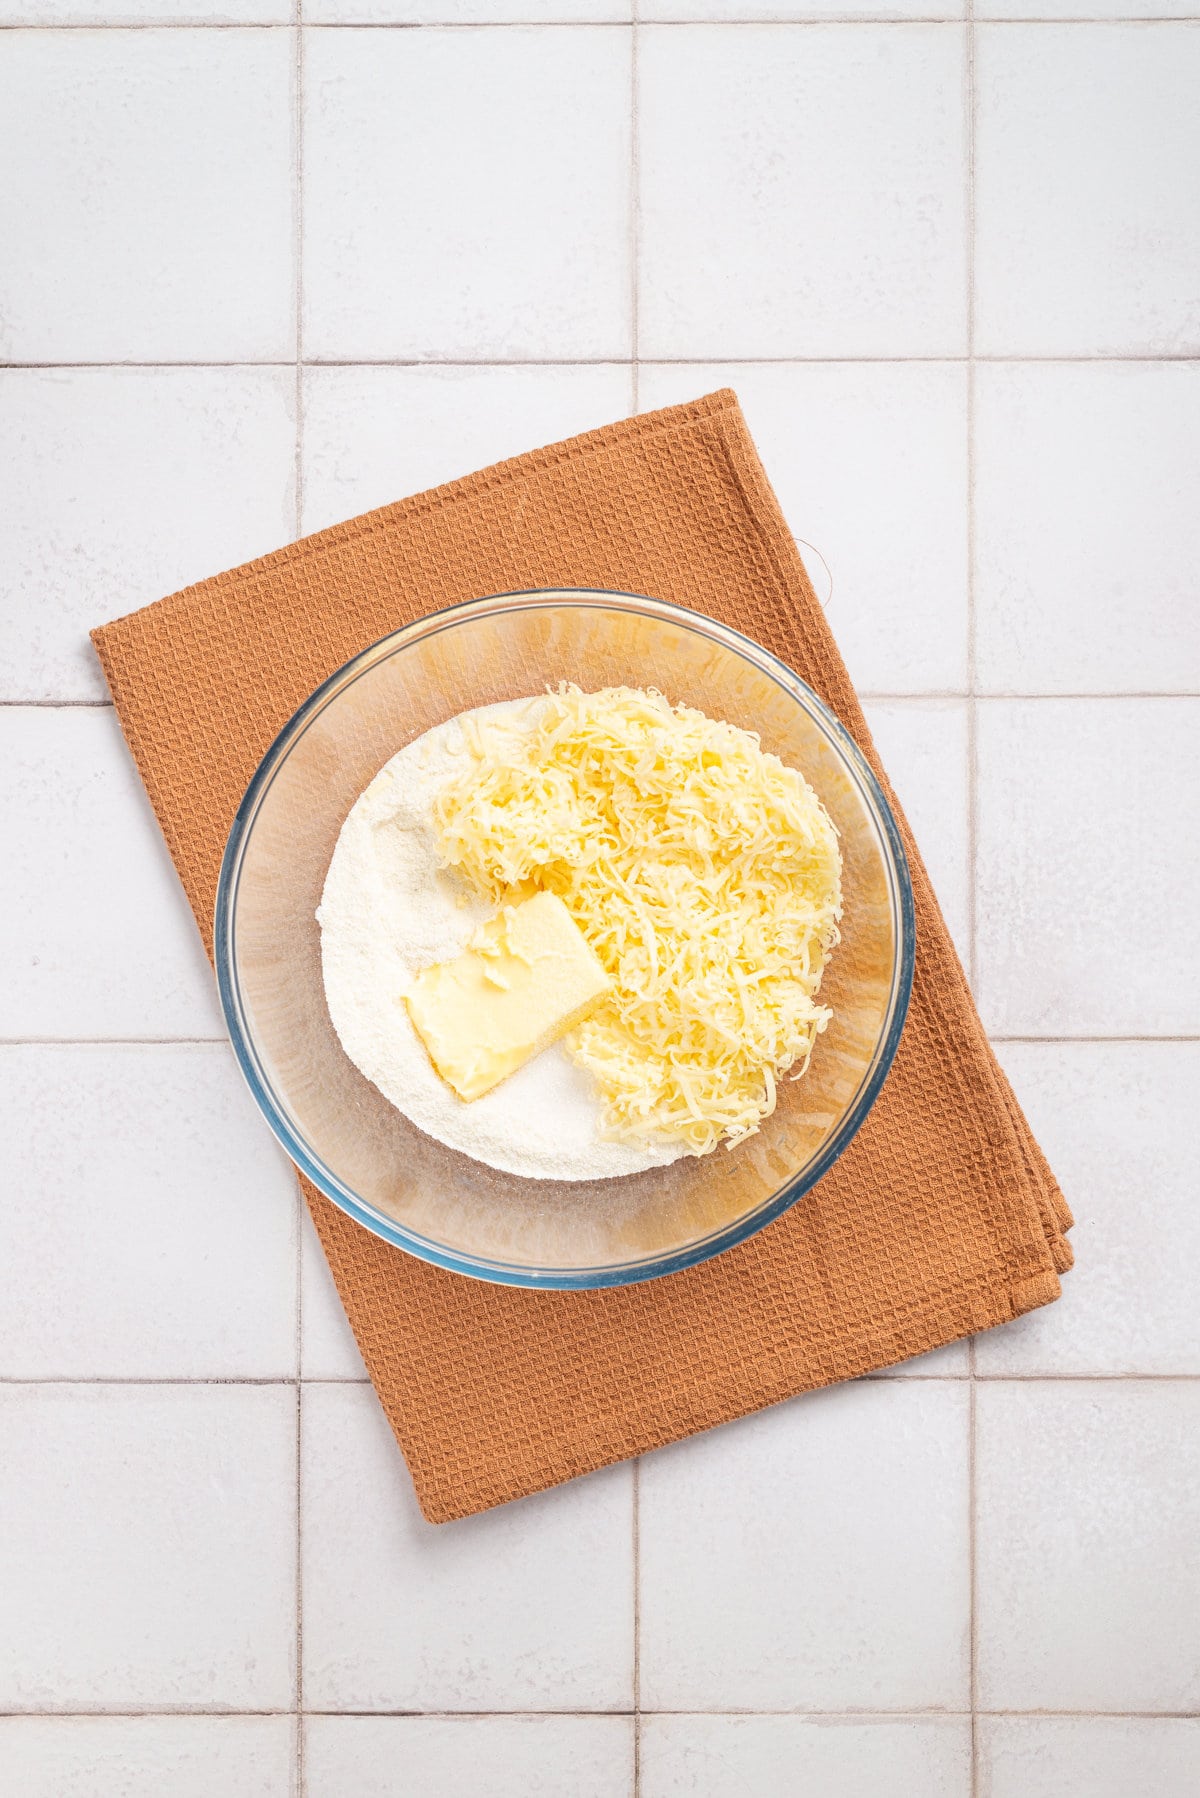
Step 1:
In a large bowl, combine the masarepa flour, salt, and sugar. Add the room temperature butter and 1 ½ cup of shredded mozzarella cheese. Mix well to incorporate the ingredients evenly.
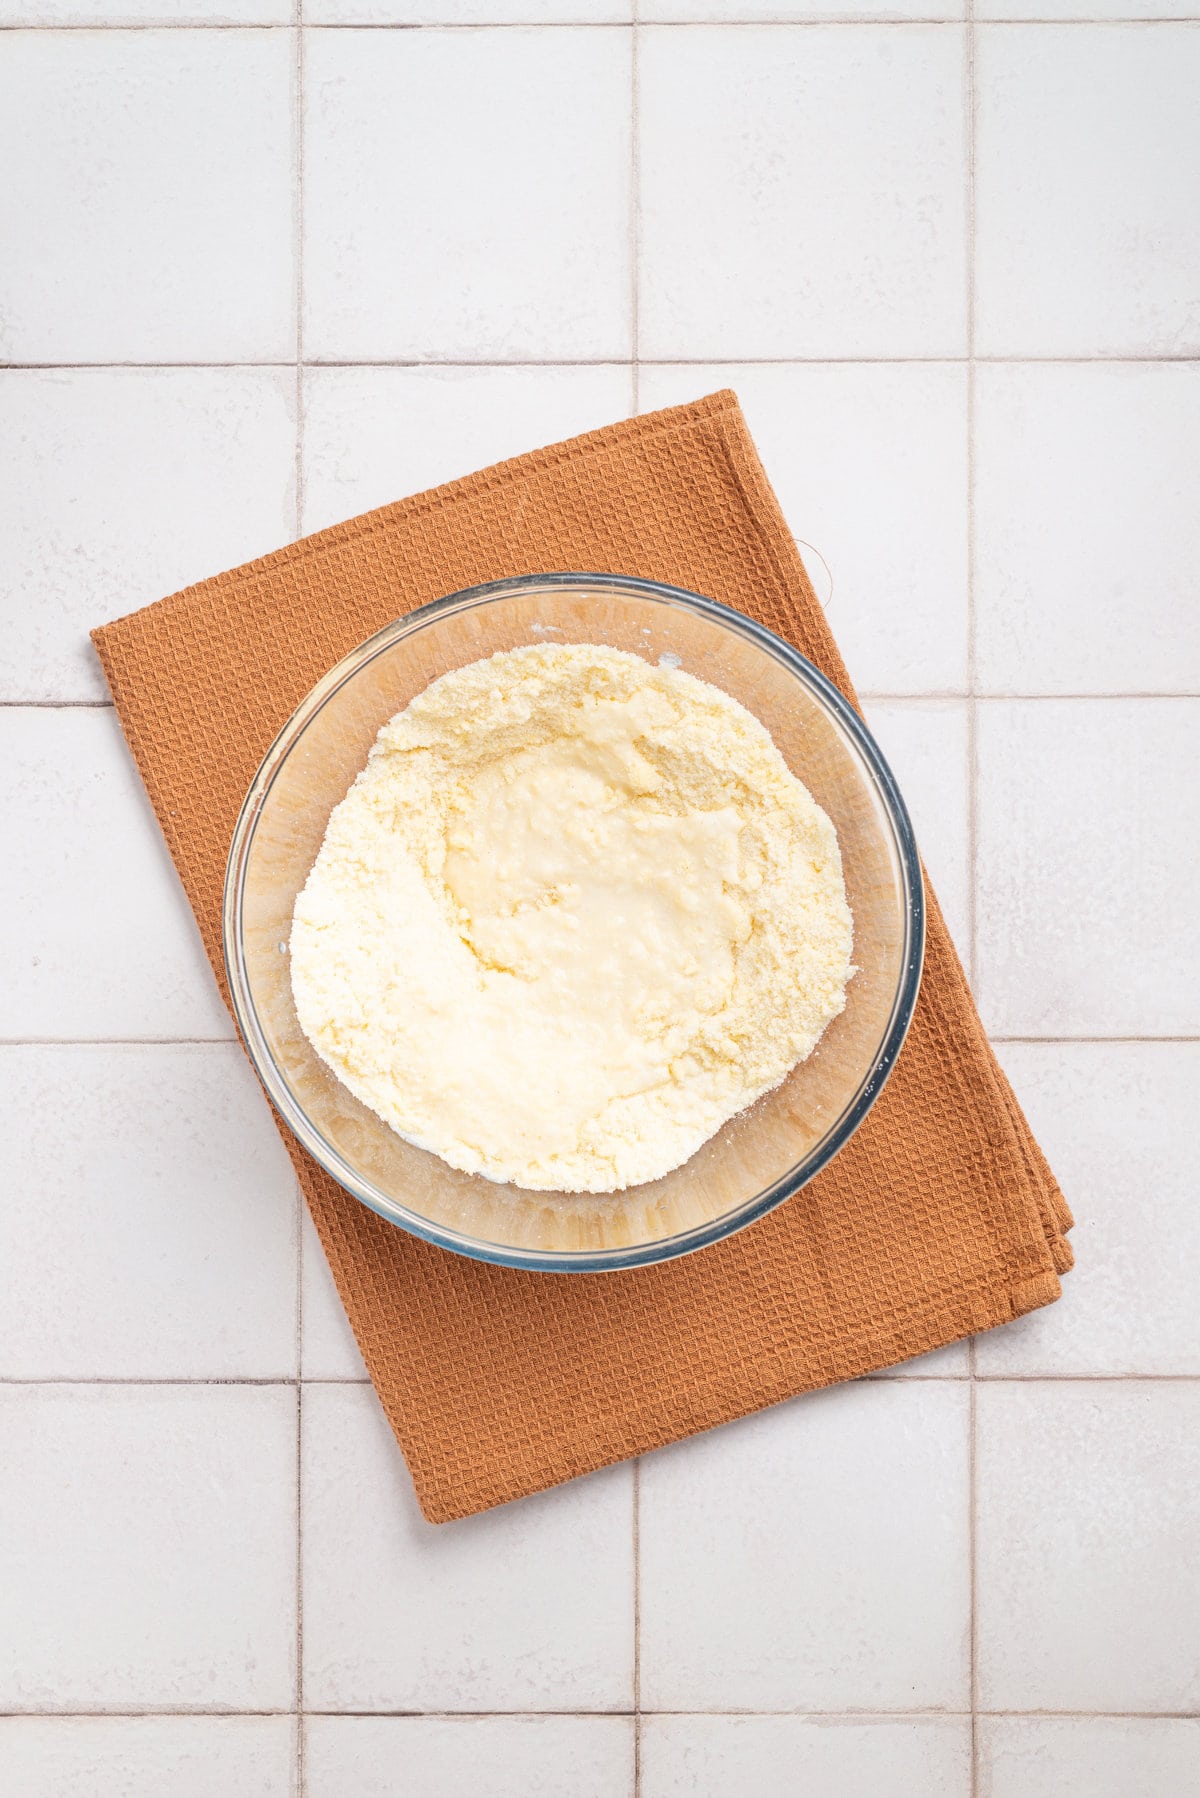
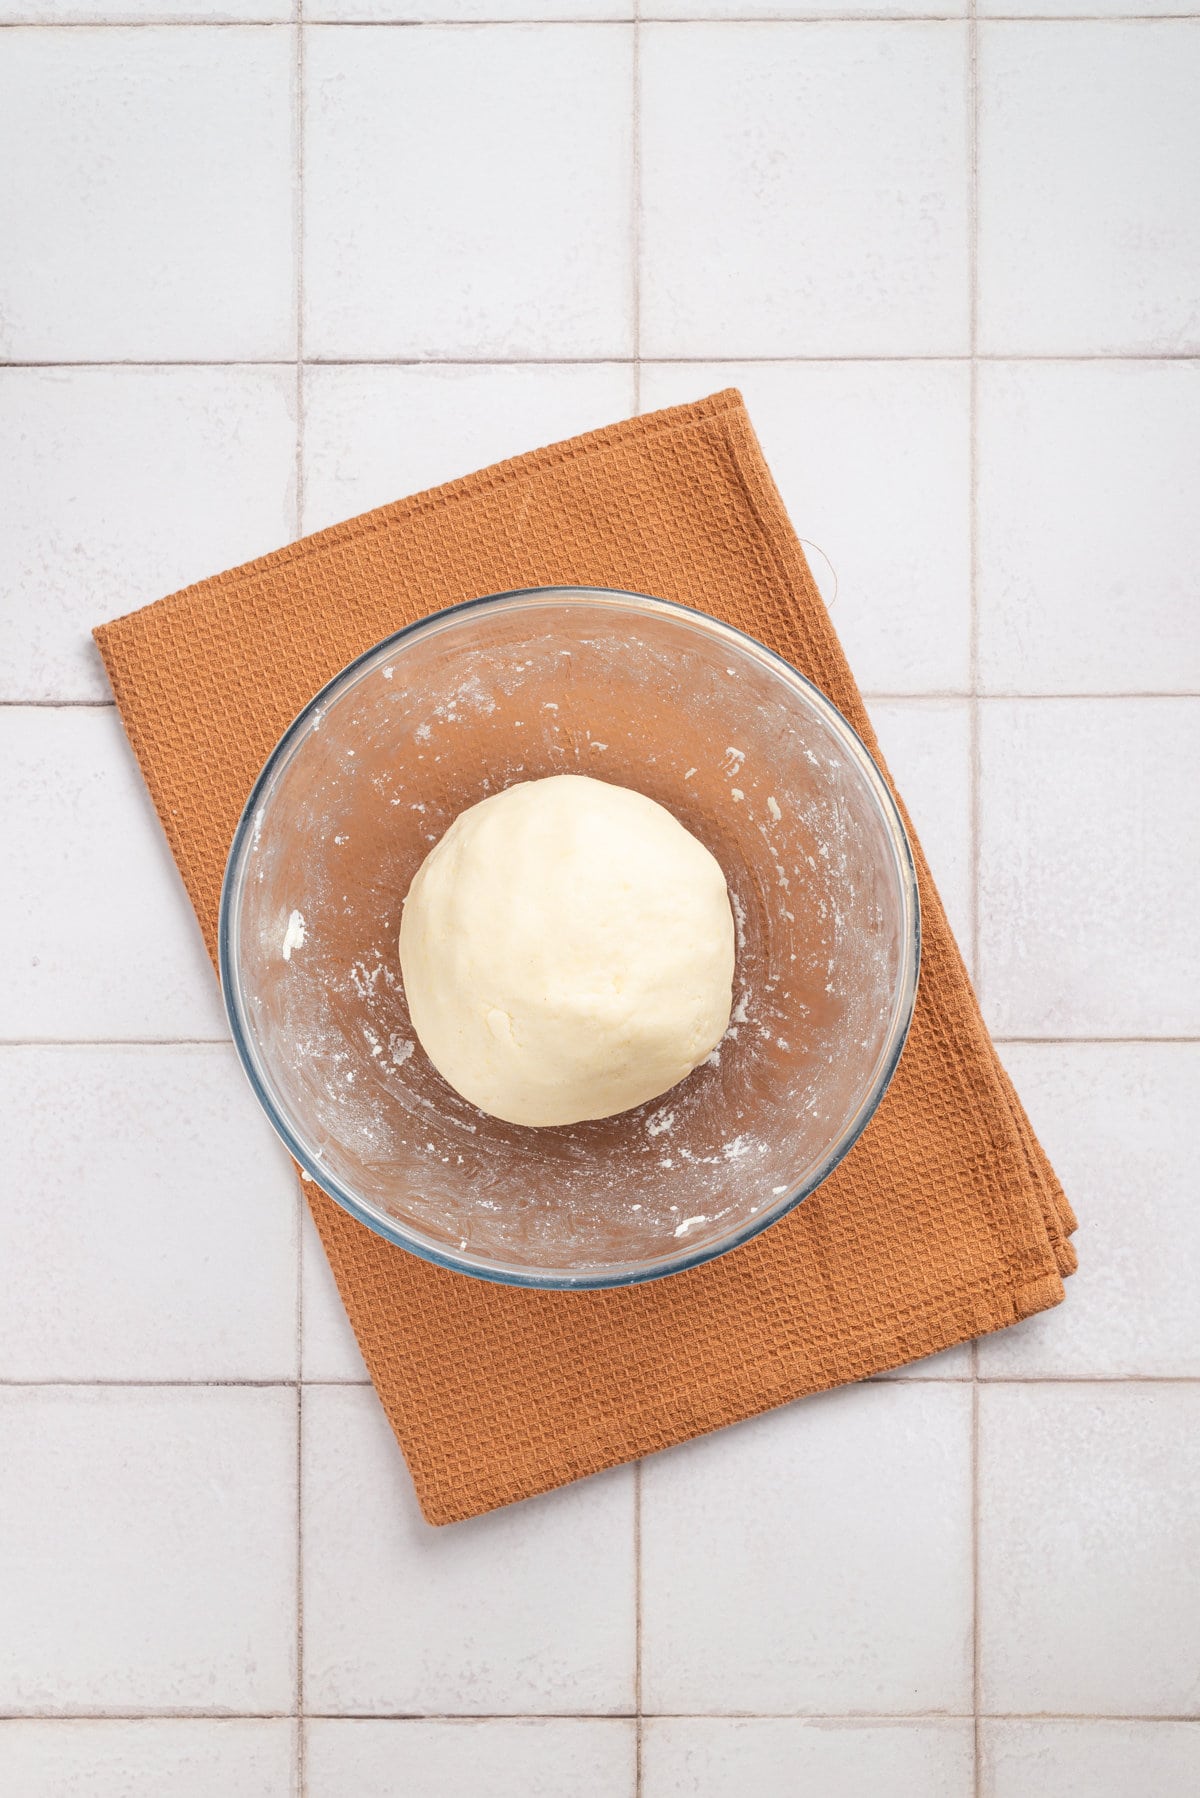
Step 2:
Pour ¼ cup of milk and slowly pour in the lukewarm water while continuously mixing the dough. Knead the dough until it becomes smooth and manageable, adding more water if necessary to achieve the right consistency. Let the dough rest for about 5 minutes.
Step 3:
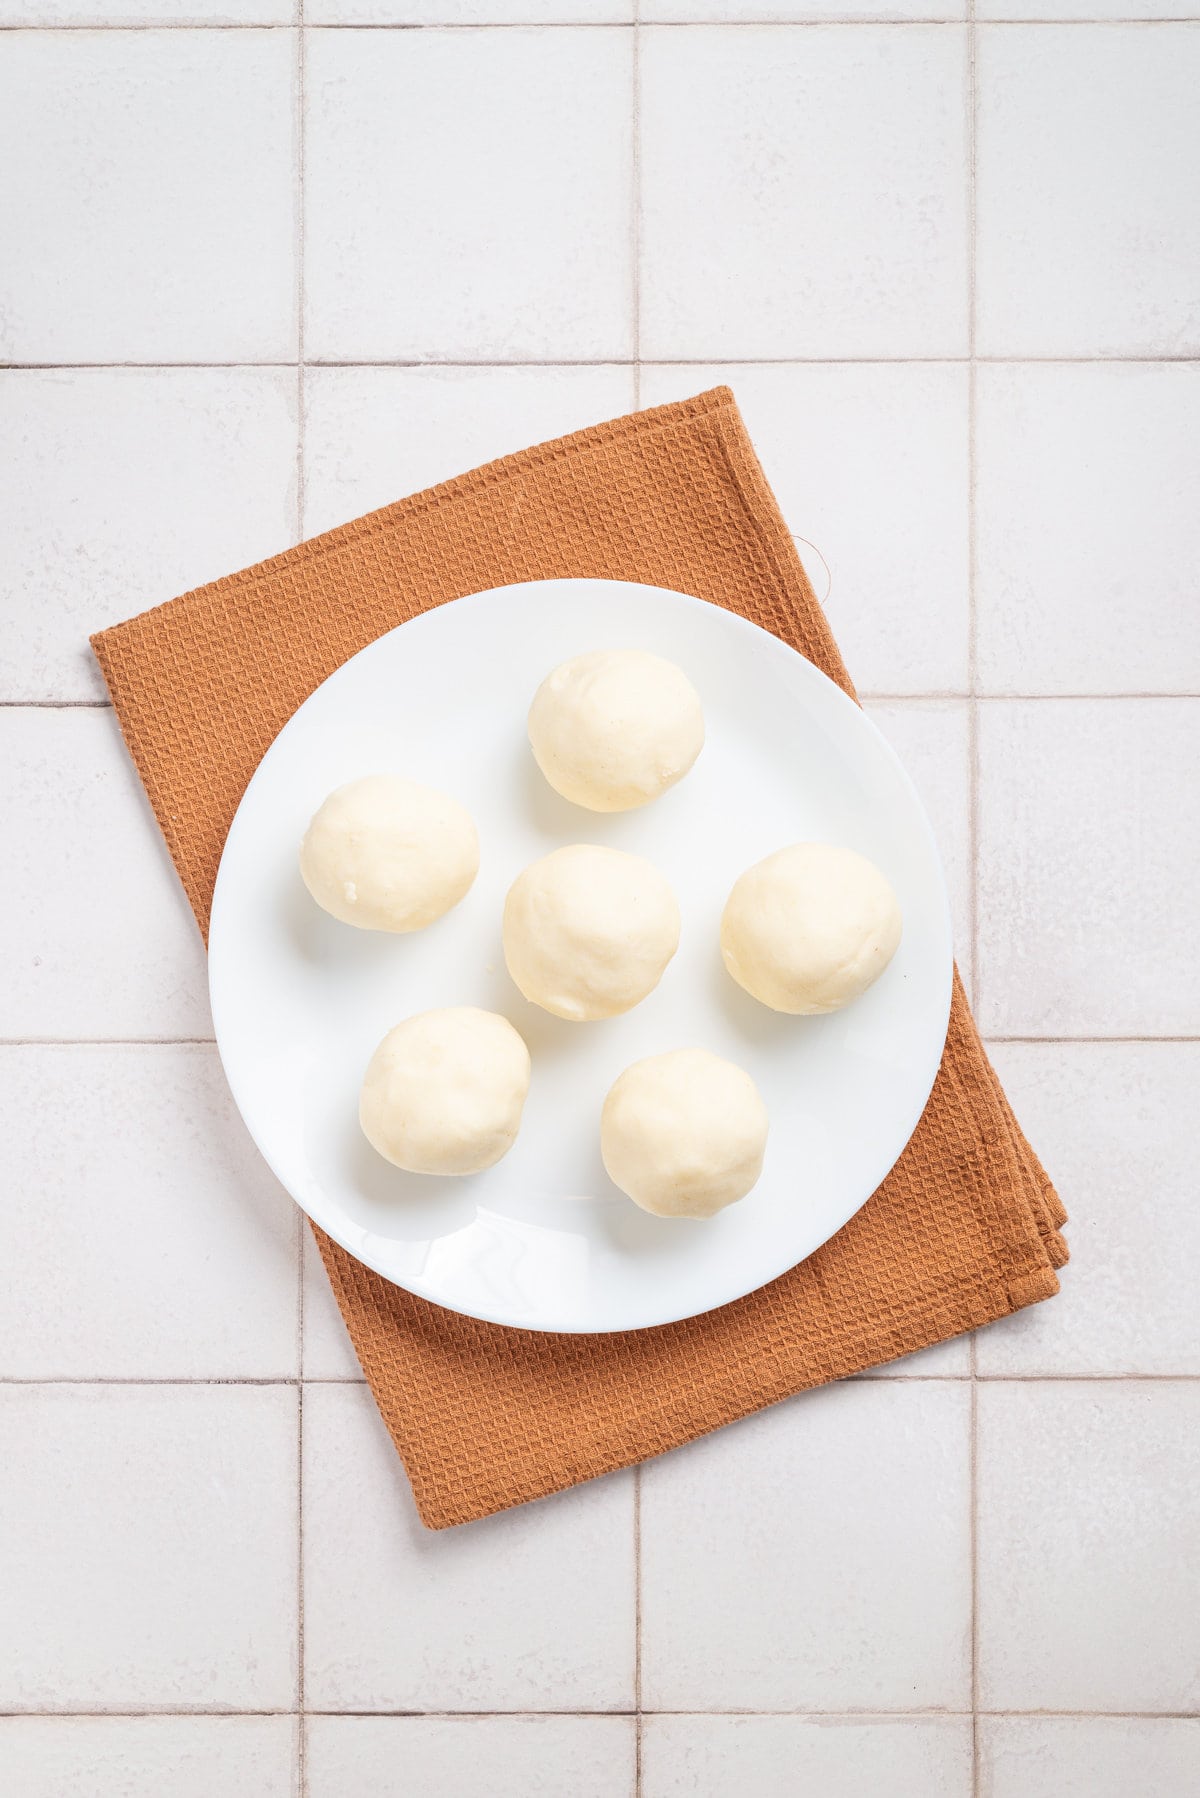
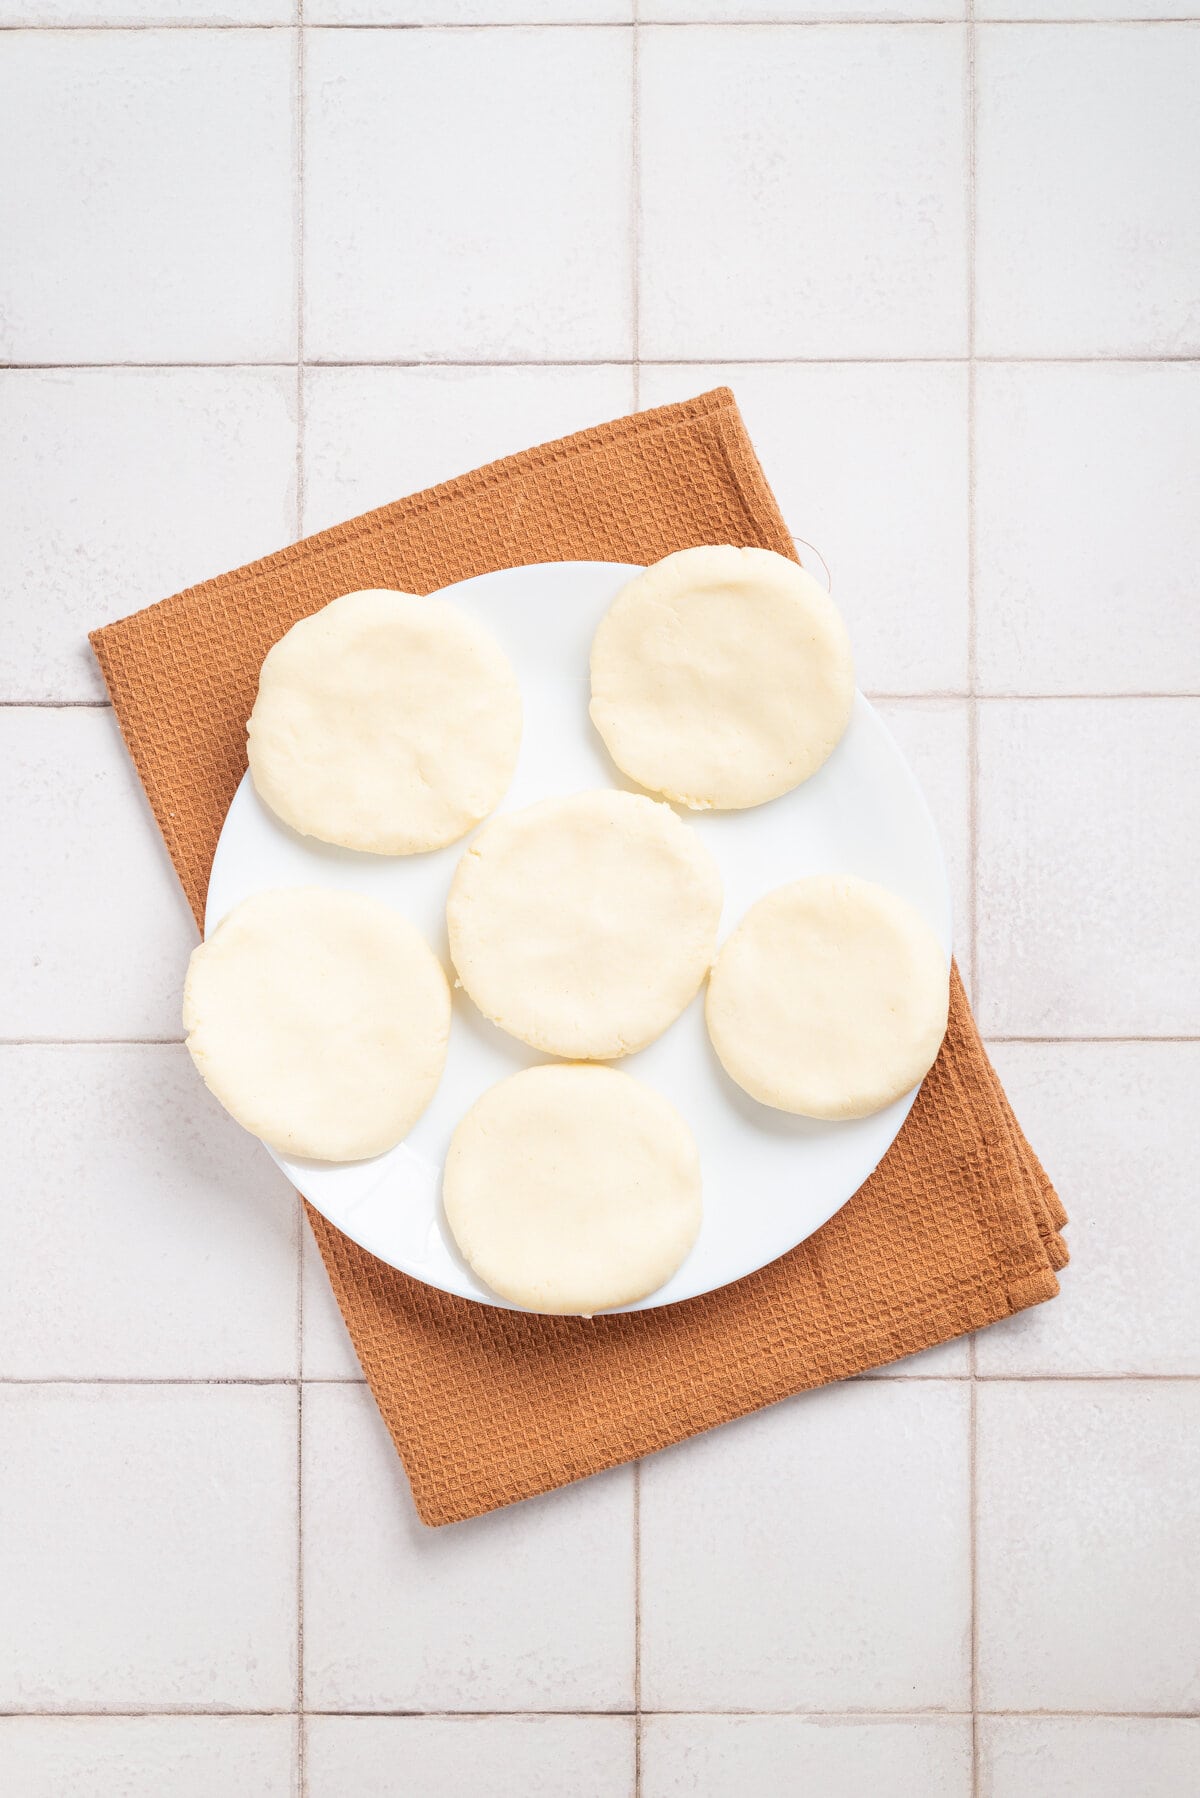
Divide the dough into 6 equal-sized portions and roll each portion into a ball. Flatten each ball of dough into a disc shape using the palm of your hand, about 1/2 inch thick.
Step 4:
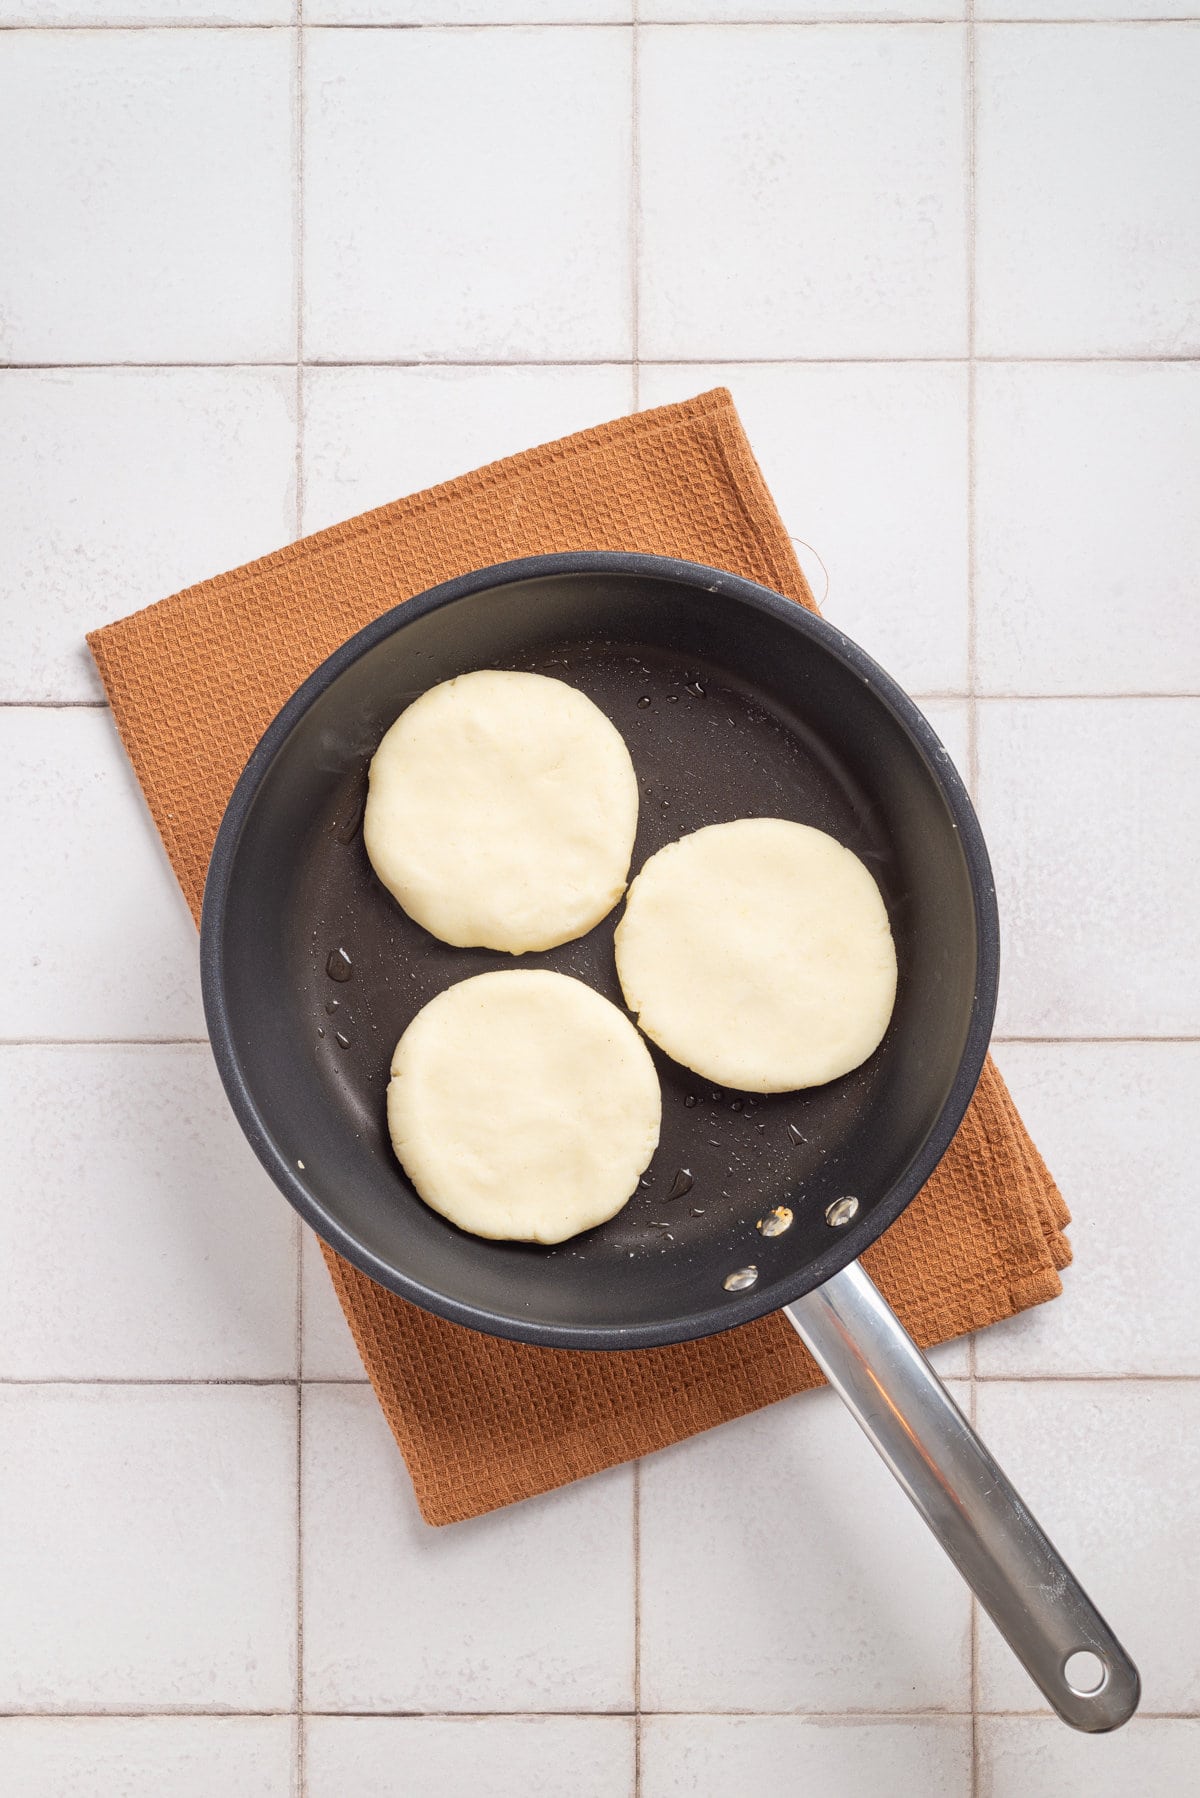
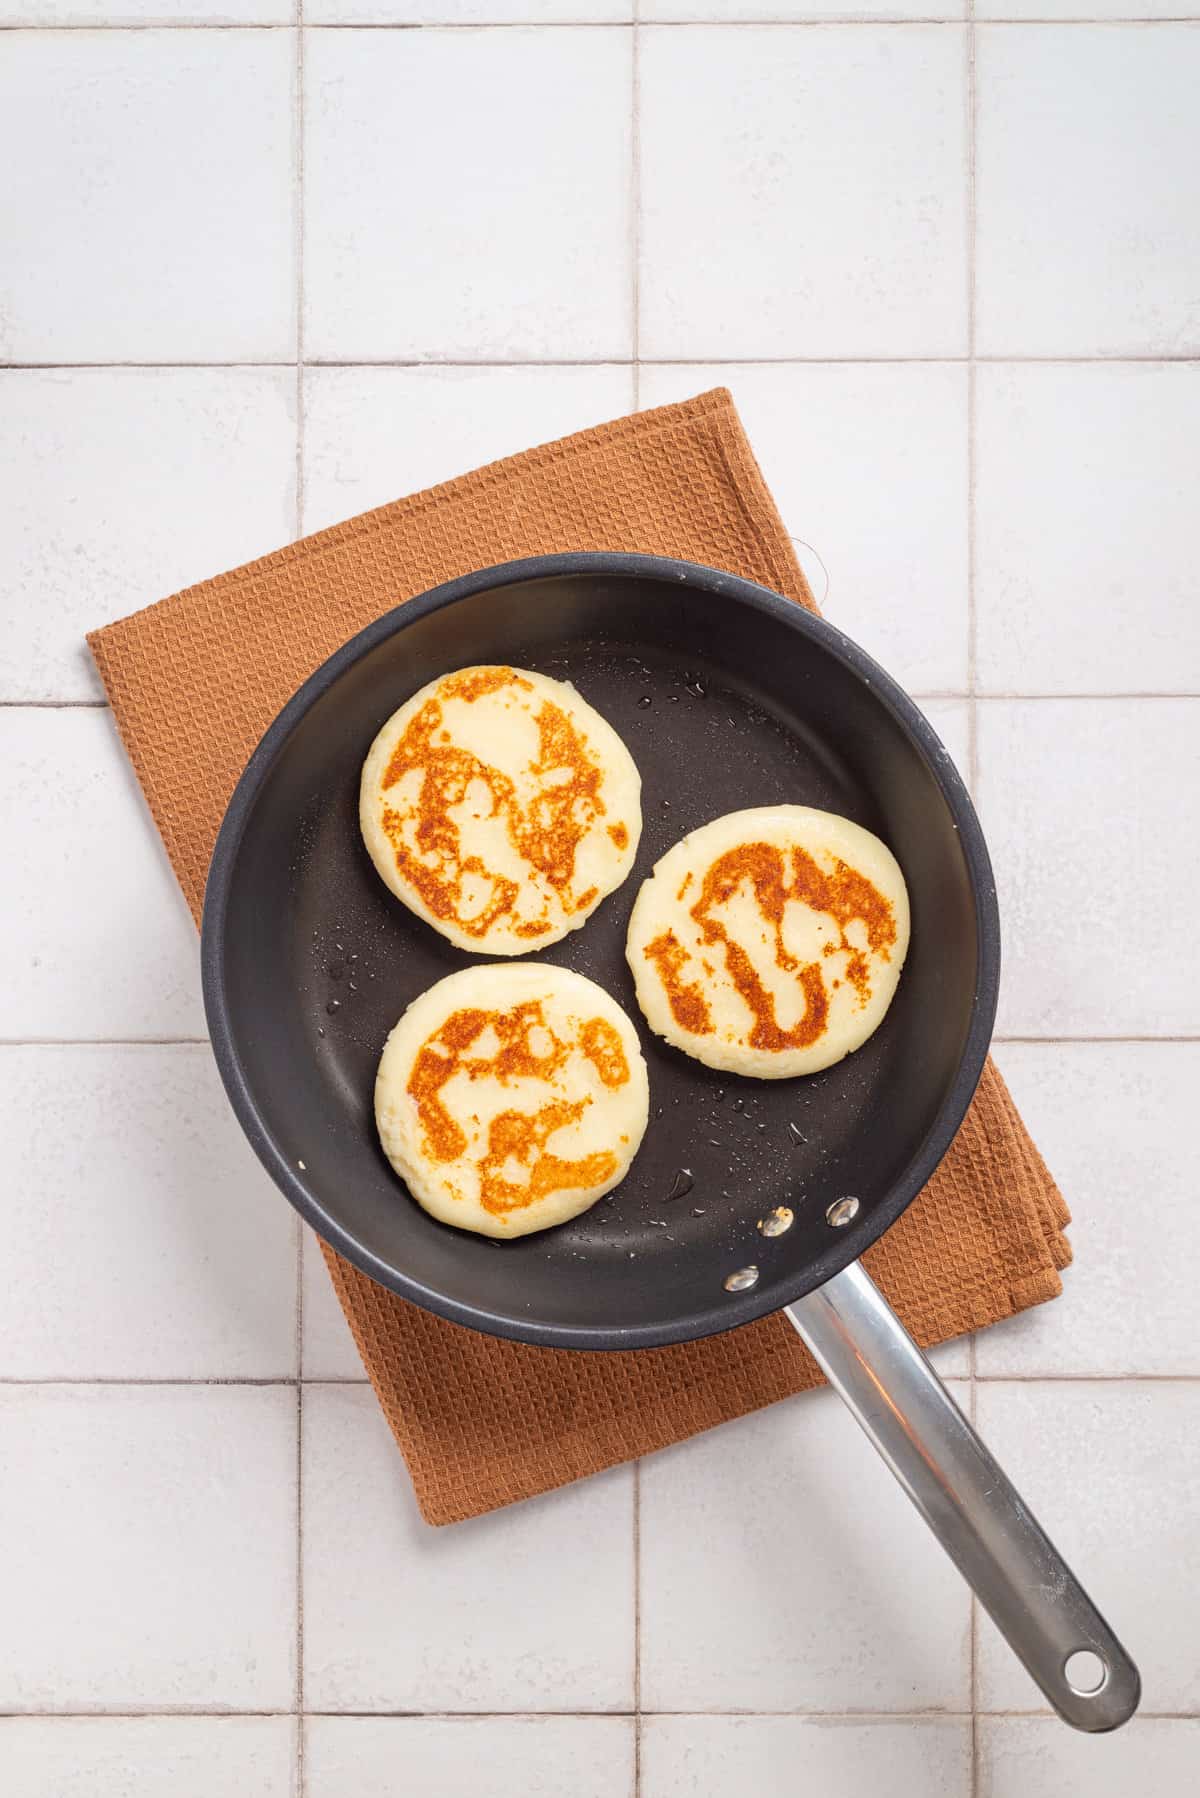
Heat a nonstick skillet over medium heat and spray with nonstick cooking spray. Place the arepas on the skillet and cook for about 5 minutes on each side, or until they develop a golden brown crust.
Step 5:
Let them cool for a few minutes before serving.
👩🏽🍳 Tips for the best arepas con queso
⭐ Avoid using butter for cooking the arepas to prevent burning too quickly. Instead, use a neutral cooking oil. If you want a buttery taste, cook the arepas with oil and add a layer of salted butter after they’re fully cooked.
- Lukewarm or warm water is key for activating the masarepa and butter without cooking the cheese. This helps achieve a smooth, pliable dough.
- Aim for a dough that’s soft but not sticky. If it’s too dry, add water tablespoon by tablespoon. If it’s too wet, a bit more masarepa can help. Let the dough rest for 5 minutes before shaping.
- For a cheesier version, add a tablespoon of cheese at the center of each dough ball before flattening it into a patty. Remove air pockets before cooking!
- Cook the arepas on medium heat to allow the inside to warm and the cheese to melt while developing a golden crust without burning.
👩🏽🍳 Troubleshooting FAQs
Yes, arepa con queso is naturally gluten-free since it is made from masarepa, a type of pre-cooked gluten-free flour made from corn. However, make sure that the masarepa flour you’re using has a gluten-free label, as cross-contamination can sometimes occur in manufacturing processes.
Traditionally, a mild, white cheese such as queso blanco or queso fresco is used for arepas. But you can use other types of melty cheese like mozzarella cheese or even cheddar, depending on your preference.
No, I don’t recommend it. If you use masa harina, your arepas will have a different texture and turn out more like tamales or pupusas. Make sure you use masarepa. You can easily find it in Latin grocery stores and even online.
🍴 How to serve arepas con queso
Serve arepas con queso as a snack or light meal. Enjoy them on their own or with delicious sauces such as guacamole, salsa, or hot sauce. In Colombia, they are commonly eaten for breakfast or as a late-night snack, while in Venezuela, they can be enjoyed throughout the day.

🍴Storage and reheating suggestions
For storing, refrigerate any leftover arepas for 3 to 5 days. When ready to enjoy again, reheat them on a skillet over medium heat with a small amount of oil until fully warm. When reheating, lightly brush arepas with water to reintroduce moisture, so they are as soft and delicious as when they were first made.
To freeze, allow them to cool completely. Then wrap them individually in plastic wrap or aluminum foil then place them in an airtight container or freezer bag.
To reheat, simply thaw them in the refrigerator overnight and warm them in a skillet, toaster oven, or air fryer until heated through.
🍴 More cheesy sides and snacks
If you like this recipe, check out my other delicious sides:

Creamed Spinach

Corn in a Cup (Elote en Vaso)

Cheesy Potatoes (Real Potatoes!)

Sweet Potato Skins

Arepas con Queso
Ingredients
- 2 cups masarepa flour
- 2 teaspoons salt
- 2 teaspoons sugar, plus more to taste
- 2 tablespoons unsalted butter, at room temperature
- 1½ cup mozzarella cheese, freshly shredded
- ¼ cup whole milk
- 2½ cups water, lukewarm
- 1 teaspoon nonstick cooking spray, for the skillet
Instructions
- In a large mixing bowl, combine the masarepa flour, salt, and sugar. Add the room temperature butter and 1½ cup of shredded mozzarella cheese. Mix well to incorporate the ingredients evenly.
- Pour ¼ cup of milk and slowly pour in the lukewarm water while continuously mixing the dough. Knead the dough until it becomes smooth and manageable, adding more water if necessary to achieve the right consistency. Let the dough rest for about 5 minutes.
- Divide the dough into 6 equal-sized portions and roll each portion into a ball. Flatten each ball into a disc shape, about ½ inch thick.
- Heat a skillet over medium heat and spray with nonstick cooking spray. Place the arepas on the skillet and cook for about 5 minutes on each side, or until they develop a golden brown crust.
- Let them cool for a few minutes before serving.
Notes
- Avoid using butter when cooking the arepas to prevent burning too quickly. Instead, opt for oil. If you desire the buttery taste, cook the arepas with oil and add a layer of salted butter after they’re fully cooked.
- Aim for a dough that’s soft but not sticky. If it’s too dry, add water tablespoon by tablespoon. If it’s too wet, a bit more masarepa can help. Let the dough rest for 5 minutes before shaping.
- For a cheesier arepa con queso, add a tablespoon of cheese at the center of each dough ball before flattening into a patty. Remove any air pockets before cooking!
- Cook the arepas on medium heat to allow the inside to warm and the cheese to melt while developing a golden crust without burning.
Nutrition
Nutrition information is automatically calculated, so should only be used as an approximation.


made this for my food science class and they all loved it!
Great to hear – thank you!
This recipe is very yummy. The arepas came out a little too salty so I would recommend reducing the salt to 1 tablespoon or less.
Making my second batch in a week for my 8 year old. Delicious! Don’t be afraid to add those bits of water or arepa to get the consistency you want.
Yummers